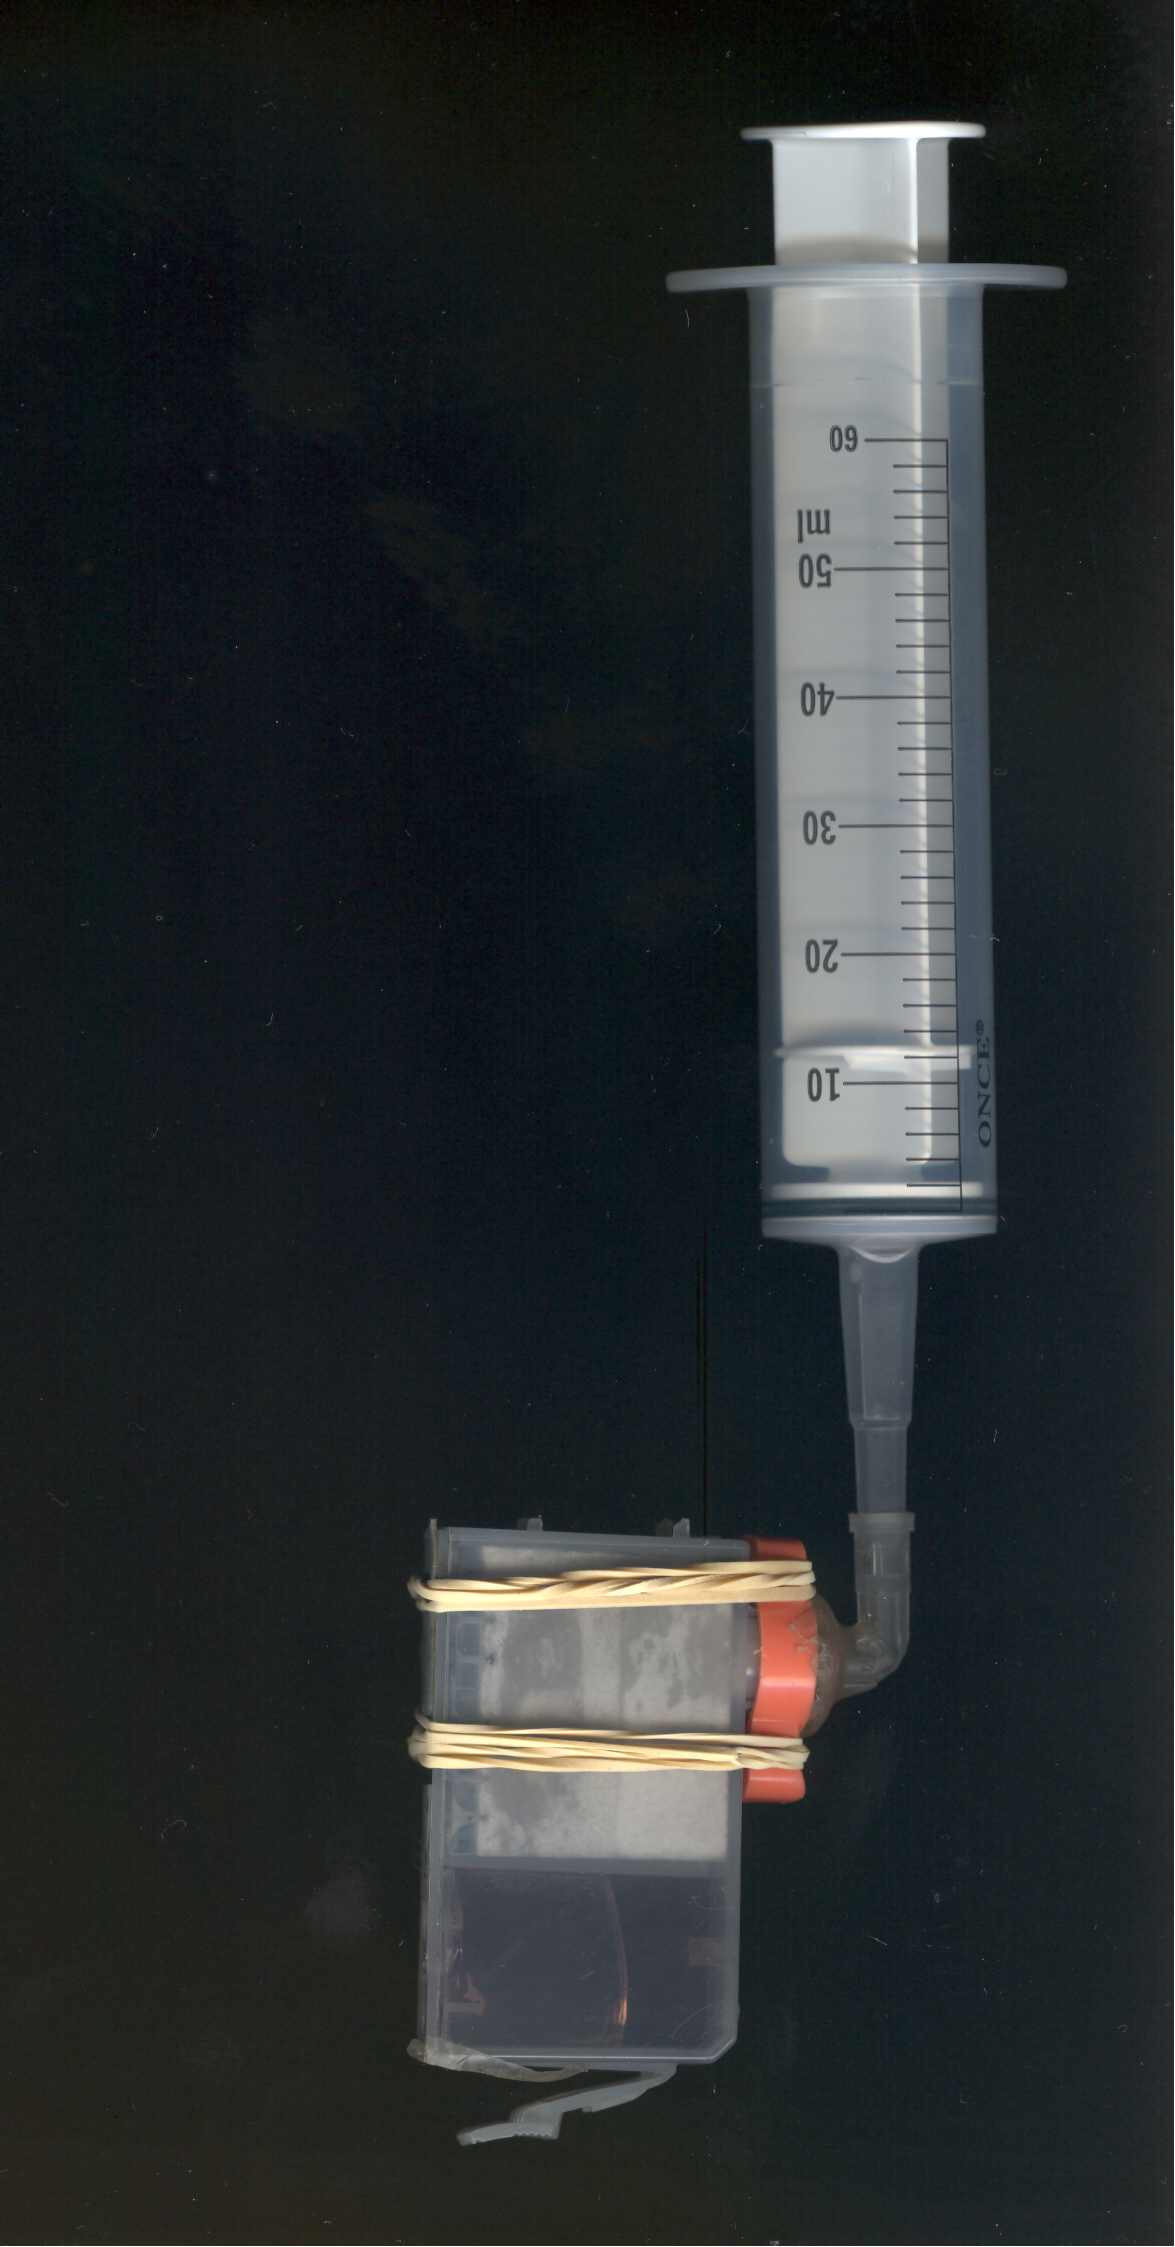
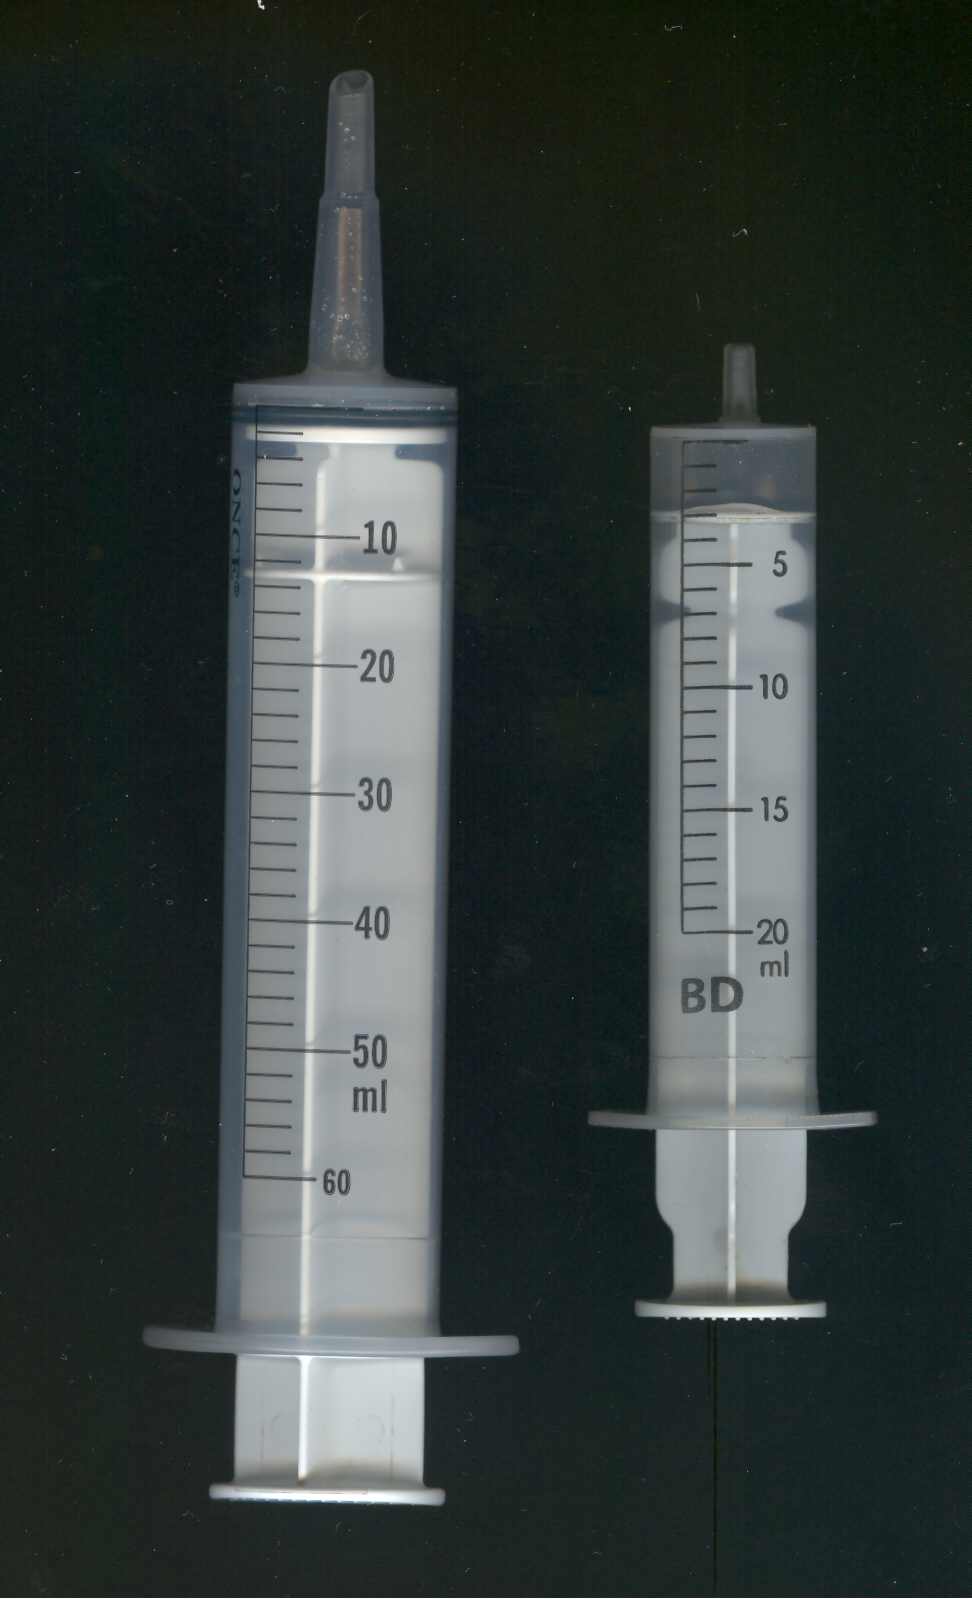
I never tried do do such a thing, however (not very often ) when I was running very low on a color I filled a syringe with about 2 cc of ink (about 1/2 a tank full), open the access door to make head move to center.marceltho said:LeeE wrote:
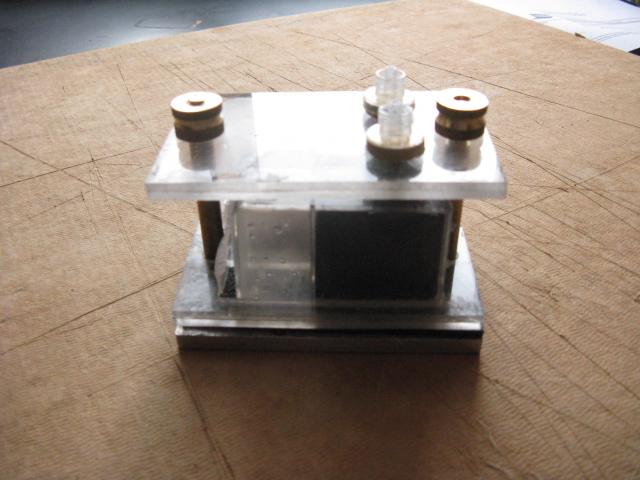
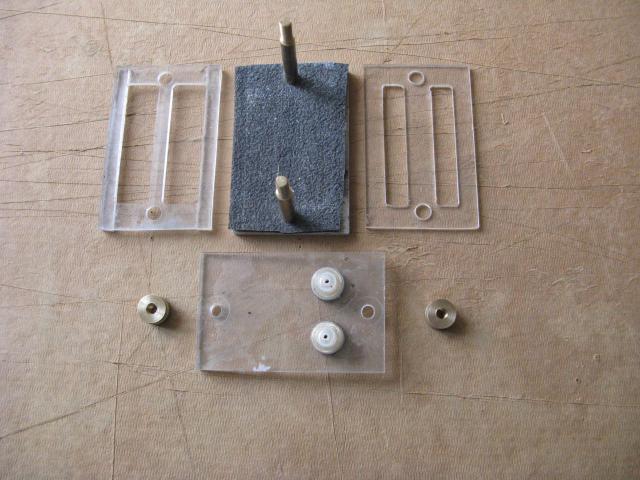
LeeE, perhaps a strange thought, but would it be possible, to insert a syringe through the putty sealed tank hole, fill the ink chamber and retract the syringe without getting air in the ink chamber ?My poster putty came in a 2 oz pack of 4 sticks (cyan blue in color), I used it to seal the tank hole I drilled in CLI 8 cartridge for about 4 years and only used about half of one stick.
It would be a top-fill, but through the putty.
Then quickly pull off the putty from the tank put the ink in the tank an put the putty back on. (obviously you don't want to leave the tank hole open very long or you may contaminate the colors).
I was sucessful however I wouldn't suggest attempting it as many things could go wrong...
As I wanted to make sure the tank was sealed, I would push it enough that some did go into the hole (may not have been needed as I never had a cartridge leak), to remove grab the top of the putty & pull up with a quick snap.rodbam said:If it's blue Tack we can get that down here so I will try it on the German Method hole. Does it just get applied to the surface or do you push it into the hole a bit?
I think a larger hole made it come out cleaner. If any did fall into the tank it never seem to effect the operation.
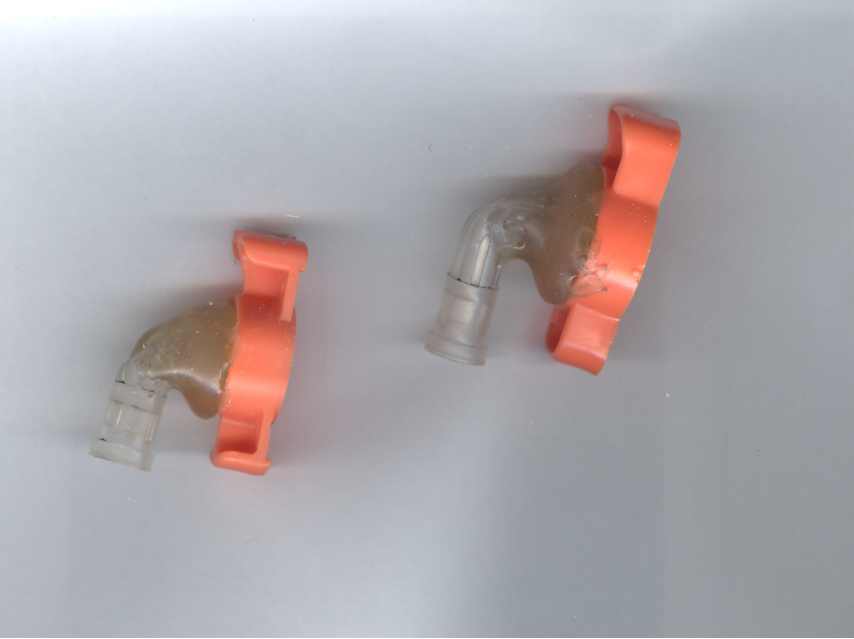
I thought (perhaps I'm wrong) the "German Method" drilled the hole in the bottom of the cartridge, I've never tried it.