- Joined
- Nov 27, 2010
- Messages
- 5,250
- Reaction score
- 5,155
- Points
- 373
- Location
- Copenhagen Denmark
- Printer Model
- Canon MP990
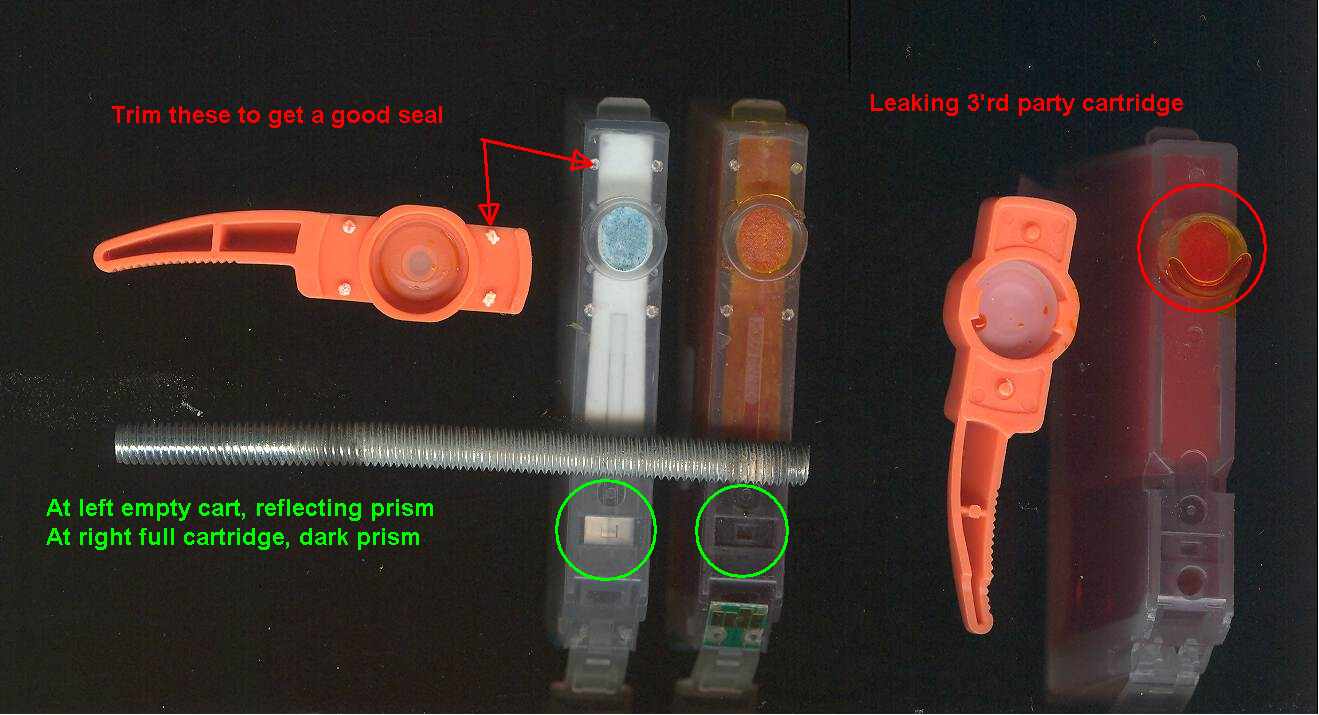
I think you solved the problem with the leaky orange clips. Why didn't I think that the clip could be a wrong type? Well done, The HatThe Hat wrote
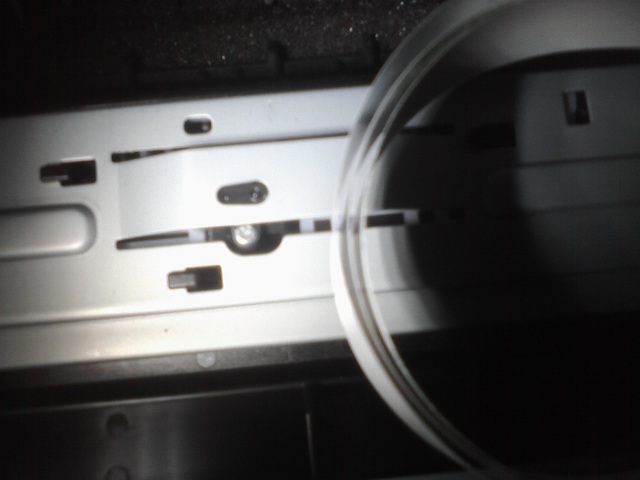
Now some of the orange clips that I have come across have little protruding groves on the inside of their rims
and that can cause your cartridge not to get a good seal, just use a small knife (Carefully)
to remove them and youll find they will make a much better seal.

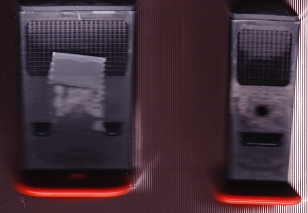
Here is a scan showing showing 2 OEM cartridges and the proper orange clip to the left, and a NON OEM cartridge plus orange clip to the right. Note different orange clips, also note the leaking of the NON OEM Cartridge. Also note how the the prism on the empty cartridge reflect the light from the scanner, and the prism on the full cartridge does does not reflect the light from the scanner.:
See this instruction for the German refill method from Precision Colors. It contains some very interesting new ideas. Note the idea of using a refill hole places higher, probably to avoid separating the outlet filter and the lower sponge, also note the sealing of the vent to minimize the risk of ink blocking the vent: http://www.precisioncolors.com/Canon german Method.pdf