New technique to clean BCI-6 carts

JV

Getting Fingers Dirty
Joined
Apr 23, 2005
Messages
91
Reaction score
0
Points
29
Nifty,

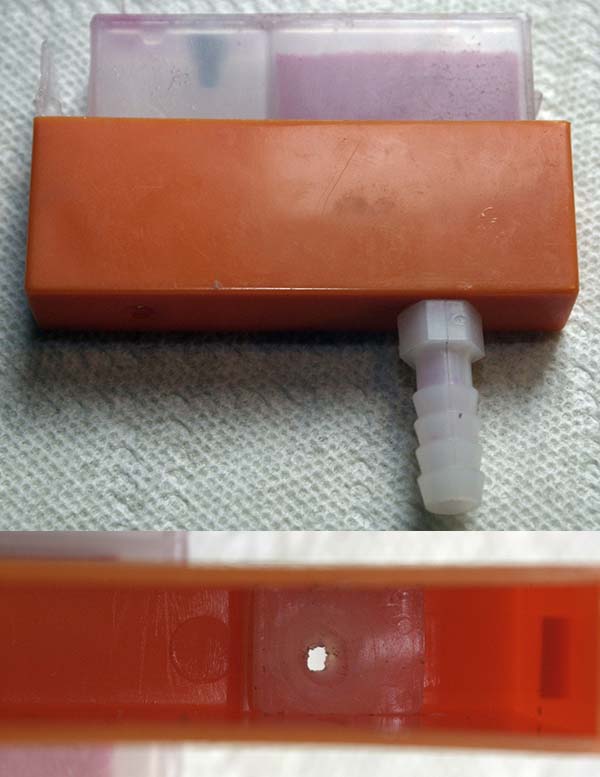
I had some used up OEM carts from relatives and I was curious how well the cleaning worked. It works very well. I learned that BIJC#2 are the same as the Old Ink Grabber carts. Same photo and printer profile. Also it gave me an excuse to look for ink. Except I have enough carts for six months of printing. The only ink labled with manufacturers ink numbers I could find is from Image Specialists sold in small bottles on www.printerfillingstation.com. Grandad does not have a printer profile for this ink and I can not find anyone using it.

JV
 

Grandad35

Printer Master
Platinum Printer Member
Joined
Feb 24, 2005
Messages
1,669
Reaction score
182
Points
223
Location
North of Boston, USA
Printer Model
Canon i9900 (plus 5 spares)
JV,

I'm glad that you were successful in cleaning your carts with this method. I don't even bother to remove any ink in the carts prior to purging them, as it only takes a few seconds extra to purge even a full cart.

I recently made an improvement that makes it easier to securely connect the cart to the water supply, as can be seen on the combined image below. It is simply a "cart clip" that has been drilled and tapped to accept a barbed hose fitting (top image), and a hole drilled through the rubber seal pad to let the water get into the cart's exit port (bottom image).

The clip is only about 1.5 mm thick, so I had to cut off most of the threaded part of the fitting, leaving only about 2 threads on the fitting. Drilling a hole in the soft rubber pad is an adventure, and I ended up grinding the hole with a Dremel. I used the "purge clip" when I had a contaminated cart and also when I accidentally re-filled a magenta cart with PM ink (doh!) - it is much easier to use than sliding the hose over the cart's exit port.
CleanClip.jpg


You mentioned that you are trying IS ink but can't find a printer profile. I have been told that AtlanticInkJet uses IS ink, and there is an AIJ/Kirkland/i9900 profile posted at (http://www.nifty-stuff.com/forum/viewtopic.php?id=138). I have 3 additional profiles for AIJ ink on Ilford papers, and I can post them if there is any interest.

In general, I highly recommend purging your carts every time that you change inks, both to get control of your color and to prevent possible clogging issues due to incompatible inks. As you found, purging your carts isn't difficult; just be sure to check the position of the sponge in the sponge chamber before refilling (as noted in the initial write-up).

Since purging my carts I have noted that the refilled carts drip a few drops when they are first removed from the storage clips (as was reported earlier for the Wired Beans carts). This applies equally to OEM, Old IG, New IG and Wired Beans carts. This isn't a problem as long as you expect it, and I take this behavior as a positive indication that the cart is not starving the ink pickup. Since I also switched bulk ink suppliers at the same time as I purged the carts, I can't say whether this behavior is caused by the clean carts and repositioned sponges or if it is because of the new ink. Have you noticed similar dripping with your inks?
 

JV

Getting Fingers Dirty
Joined
Apr 23, 2005
Messages
91
Reaction score
0
Points
29
Grandad,

I tested the OA100 carts from https://private.abacus24-7.com because in their e-mail they indicated that their manufacturer buys ink from Formulabs. The OA100 carts (8 colors) were $20 including shipping. Your Formulabs printer profile did not work on the OA100 carts and abacus could not provide any evidence of what ink was in the carts they sold.

I believe that other cart and even bulk ink distributors do not know or provide the actual ink numbers of their products.

Eventually I will try the Image Specialist ink with the known ink numbers (see Post #11) and if it does not work with your AtlanticInkJet printer profile maybee you could make another profile for the IS ink.

JV
 

Nifty

Printer VIP
Administrator
Joined
Nov 3, 2004
Messages
3,048
Reaction score
1,409
Points
337
Location
Bay Area CA
Printer Model
CR-10, i560 ,MFC-7440N
UPDATE: I just refilled all of my cartridges in my IP750 and again noticed some black "sediment" in my yellow cartridge. I'm sure it is in all of my cartridges, but I can only really notice it clearly in my yellow cart.

I'm not sure of the source of this stuff. The only think I can figure is that it maybe comes from my syringe or maybe the screw / o-ring? In my opinion there isn't enough of this stuff to justify a full blown investigation and complete change of my refilling techniques.

Maybe next time the carts go empty I'll flush in some distilled water and suck it back out with the syringe to remove some / most of it. That will be my interim fix until I get to the point that I need to do a good flushing!
 

drc023

Printer Guru
Joined
May 1, 2005
Messages
183
Reaction score
9
Points
138
Location
Arkansas
Printer Model
Canon Pro-100, iP8720, MG6220
You are seeing rust from the screw. When I used metal screws prior to switching over to nylon I also got the sediment which was quite visible in the yellow cartridges. It doesn't hurt anything since the sponge will filter out any sediment long before it gets to the print head.
 

Nifty

Printer VIP
Administrator
Joined
Nov 3, 2004
Messages
3,048
Reaction score
1,409
Points
337
Location
Bay Area CA
Printer Model
CR-10, i560 ,MFC-7440N
drc023 you're probably right, but I'm thinking this is rust from my original zinc screws. I don't see any issues with my new stainless screws, but I'll take a look with my magnifier to check it out.
 

thrif-t

Getting Fingers Dirty
Joined
Sep 18, 2005
Messages
11
Reaction score
0
Points
22
I had an idea about how to clean ink tanks without all the plumbing, and without
a cartridge clip. This is an easy do-it-yourself project.
You'll need a 10 ml syringe (no needle) and the orange cap that comes with each new tank.
Note that on the outside of the cap (across from where the silicone seal is)
that there is a round indentation (or perhaps a hole). The tip of the syringe will fit into that opening.
So glue them together, I like using hot melt glue for this, 5 minute epoxy would also be good.
Now we make an opening right through the center of the silicone seal and the cap,
a 1/16" drill bit will do that for you.

Now you are ready to try it out. Put on some rubber gloves, you are definitely going to want them
for this procedure. Use rubber bands to hold your ink tank onto the gizmo
you just made. Remove the plug/screw/tape from the ink chamber, use a second syringe to fill it with distilled
water, room temperature should do the job. Now pull back the plunger on the 10 ml syringe,
and behold as the water is pulled into the sponge and out the exit port.
Take the tank off, purge the inky water from the syringe, replace the tank,
refill with water and repeat a few times, the side of the sponge adjacent to the ink chamber will
be washed clean of ink, but the other end will still be dark with inkt.
So the next step is to load the gizmo's syringe with water, put it back on the tank, place your finger over
the hole in the ink chamber, and push water into the exit port, going up through the sponge and
out the vent hole for the sponge. After doing this a few times, you'll have most of the ink washed out.
Now attach the ink tank and pull the plunger back quickly, this will suction out a lot of the water,
repeat until you don't get water coming out, then finish drying it by whatever method you like,
if you have time, let the sun shine on them for a day.

Something else you can do with your gizmo is to prime the outlet port, pull a bit of ink through
it after you have refilled the tank with ink. Go slowly with the plunger, the idea is to pull out air bubbles,
not lots of ink.

Comments on this technique would be welcomed.

Ron
 

cjm

Newbie to Printing
Joined
Jun 3, 2005
Messages
8
Reaction score
0
Points
6
I just found the perfect thing for cleaning the bci-6 carts. It is a Belson Profiles Spa Shampoo and Color Rinse Sprayer. I bought it at Sally Beauty Supply for $3.29. It has a rubber piece that slides onto a faucet and directs the water down a 3/8" hose to a sprayer. I cut off the sprayer and, Voila, a perfect cart cleaner! HTH, John
 

Nifty

Printer VIP
Administrator
Joined
Nov 3, 2004
Messages
3,048
Reaction score
1,409
Points
337
Location
Bay Area CA
Printer Model
CR-10, i560 ,MFC-7440N
Hey cjm... great idea. Does it look like this:

sprayer.jpg
 

cjm

Newbie to Printing
Joined
Jun 3, 2005
Messages
8
Reaction score
0
Points
6
It looks exactly like that. Work for me. John
 
Top