Subarub4
Getting Fingers Dirty
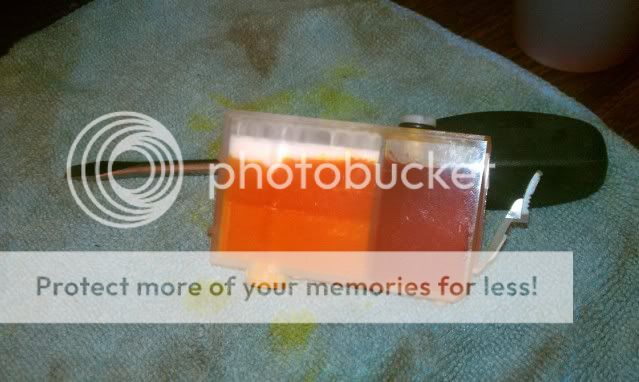
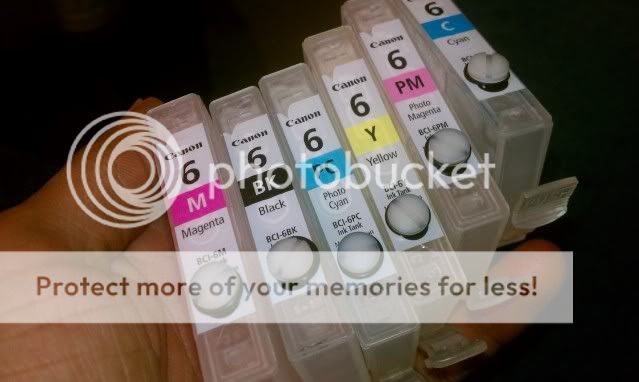
I have a crazy question any need for a syringe for a refill? what happens if you just fill the ink side on a flushed cart?
I do own a vacuum pump but I was just curious, the ink I ordered has a tip that allows you to pour from the bottle.
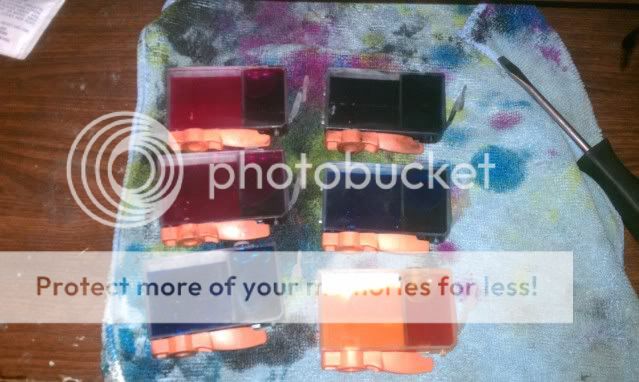
I was reading this here about sealing the carts
http://www.nifty-stuff.com/sealing_canon_bci6.php#more-3
those screws in that size and being nylon might be a little hard to find, in a pinch can I use a glue gun?
I do own a vacuum pump but I was just curious, the ink I ordered has a tip that allows you to pour from the bottle.
I was reading this here about sealing the carts
http://www.nifty-stuff.com/sealing_canon_bci6.php#more-3
those screws in that size and being nylon might be a little hard to find, in a pinch can I use a glue gun?


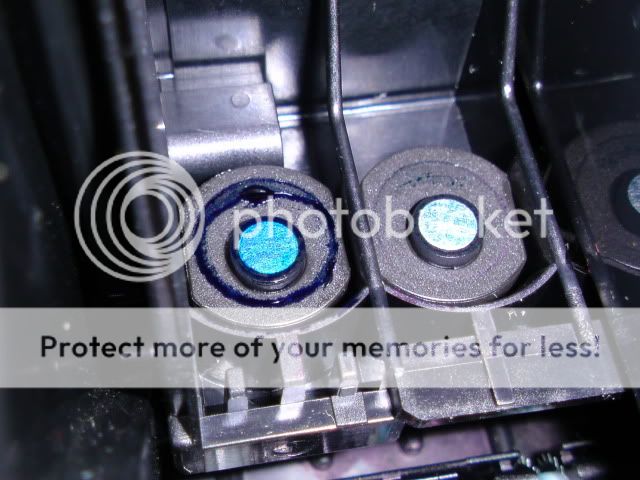
") D), you can see it a bit under the word " push "
D), you can see it a bit under the word " push "