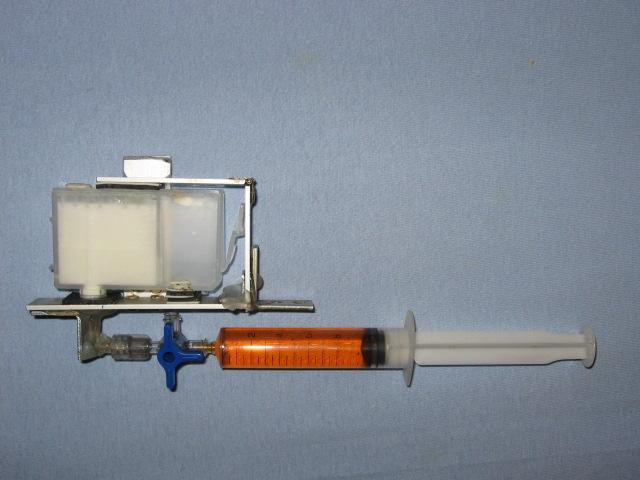
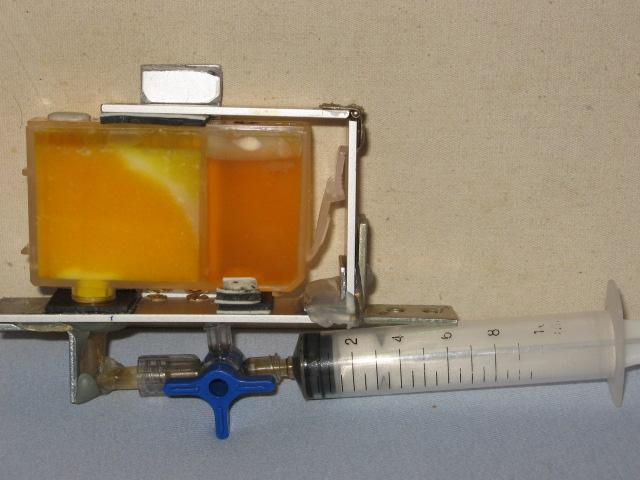
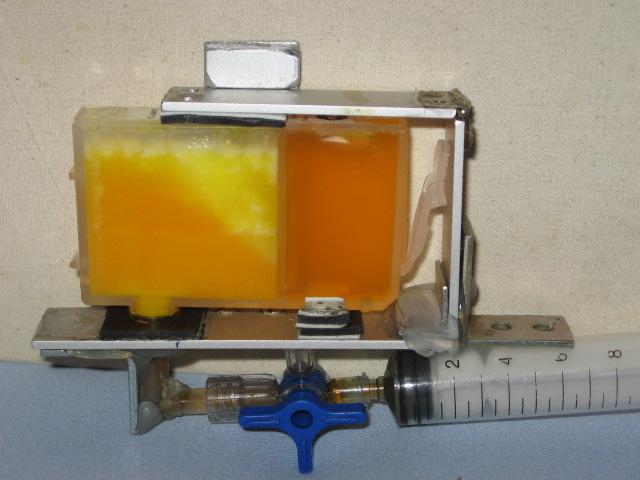
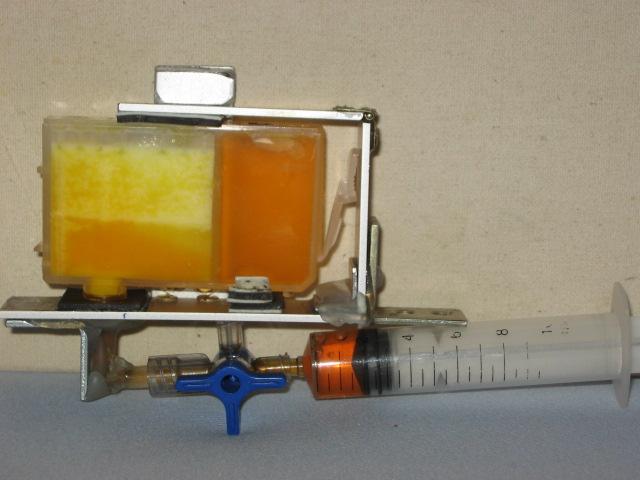
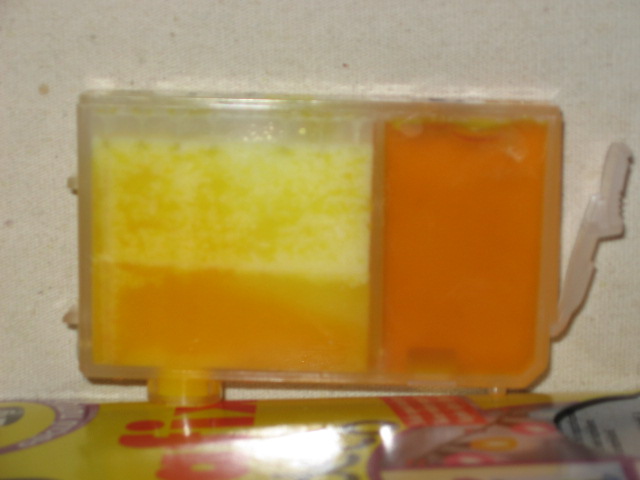
Interesting take on the Freedom Method Rig from Rjettek Video

ThrillaMozilla

Printer Master
Joined
Jan 18, 2011
Messages
1,189
Reaction score
341
Points
253
By the way, if you want to get fancy and do this right, pull the vacuum into a chamber (ink supply chamber) that's loaded with ink. Then close valves and let the foam subside. Then vent the chamber slowly and fill about 25% (or maybe 50%?). Finally, open the sponge chamber vent, and open the supply chamber slowly to finish filling the ink chamber. Probably too fancy. Maybe OK if you're filling professionally. Be my guest, gentlemen.
 

Grandad35

Printer Master
Platinum Printer Member
Joined
Feb 24, 2005
Messages
1,669
Reaction score
182
Points
223
Location
North of Boston, USA
Printer Model
Canon i9900 (plus 5 spares)
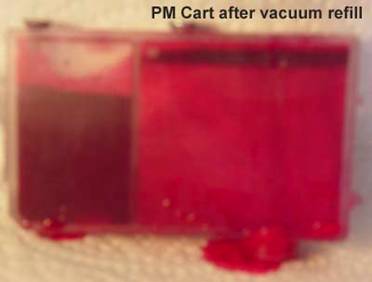
Vacuum refilling has been discussed on this forum since at least 2008 - toward the bottom of this article. This video shows the vacuum refill cycle in real time. Note that the sponge chamber was completely filled and that the ink chamber was filled more completely than in the rjettek video because of the higher vacuum pulled on the cart.
image016.jpg


I long ago abandoned this approach because it is more work than other methods. The reason for pursuing vacuum refilling at that time was that my thought process was that refilled carts didn't feed as well after multiple refills because the sponge cells did not want to refill after they were emptied, and that vacuum refilling would refill them. Once it was found that refilled carts didn't work as well after multiple refills because they were clogged and the purging process developed, there was no need for me to continue vacuum refilling.
 

ThrillaMozilla

Printer Master
Joined
Jan 18, 2011
Messages
1,189
Reaction score
341
Points
253
Great link. It's interesting that the sponge chamber appears full. This is a real pain, isn't it? The article attributed it to remaining air getting pushed into the ink chamber. If that's true, it might be that foam flowed out of the sponge instead of just ink. That might explain the foam in the ink chamber.

But I can't imagine that ALL the air would get blown into the ink chamber. I wonder if there could also be a lot of air in the sponge?
 

Grandad35

Printer Master
Platinum Printer Member
Joined
Feb 24, 2005
Messages
1,669
Reaction score
182
Points
223
Location
North of Boston, USA
Printer Model
Canon i9900 (plus 5 spares)
Watch the video carefully, and you will see that the front of the sponge is filled to the top by the time that the ink starts to rise in the ink chamber, so much of the air in the sponge chamber was pushed to the back and down into the ink chamber - that's why the ink chamber seems to have all of the air.

It was necessary to blow into the vent (which was sealed for the refill) to blow out the excess ink on top of the sponge. If you didn't, the cart would drip until the ink level dropped down into the sponge. Yes, it was a pain. This was one of the reasons why I abandoned vacuum refilling.

When you pull a vacuum on a previously filled cart, some of the ink foams inside the cart. Some of the foam collapses immediately when the vacuum is released and some takes a while to collapse. Yes, foam flows from the sponge into the ink chamber during the early phases of the refill process.

It was difficult to tell how much air remained in the sponge chamber after the refill, but not all of the foam cells were filled.

Part of the reason for posting this old information was just to show that vacuum refilling has been around for a while. In fact, I wouldn't be surprised if OEM carts used some form of vacuum assist in their filling process.
 

gigigogu

Getting Fingers Dirty
Joined
May 7, 2011
Messages
150
Reaction score
2
Points
49
I tested the method using a old contraption I made for Freedom method, a 3 way stopcock and a 50cc syringe for vacuum.
It works, but:
- all seals must be perfect
- needs at least 2 - 3 switches between ink syringe and vacuum syringe to fill the chamber at full
- this also fill completely the sponges and the space above sponge

My contraption is even better than the one in video, as it allows to open the air vent before anything else (there is a small residual negative pressure in cartridge) and to draw some ink, clearing the air maze, the space above sponge and the upper sponge.

The advantage over pure Freedom Method is that foam goes into vacuum line instead back into ink syringe, as ThrillaMozila said before, but with the disadvantage of filling the air maze with ink.
 

ThrillaMozilla

Printer Master
Joined
Jan 18, 2011
Messages
1,189
Reaction score
341
Points
253
Well, OK, the ink chamber wasn't completely filled, but that can be overcome too. Ideally, you want to favor the ink chamber over the sponge chamber, i.e. let more air out and put more ink into the ink chamber. One advantage of the Freedom method is that can do this by tipping the cartridge, and you can use two or more strokes.

I like gigigogu's use of a valve. By closing the valve, you could allow the foam to collapse for a minute or two in the syringe, before reinjecting the ink. This would allow you to reuse the old ink that the R-JetTek device dumps. You could also minimize the extra ink that you need to add to the syringe to defeat the foam.
 

gigigogu

Getting Fingers Dirty
Joined
May 7, 2011
Messages
150
Reaction score
2
Points
49
I had a lot more fun and eventually I got it right (with my contraption) - the cartridge filled almost full, in one go, no foam, no wasted ink, no ink left in air maze and upper sponge.
However it needs some physical strength, also the cartridge is under considerable mechanical stress because of vacuum.
If anybody is interested, let me know, to post photos and description.
 

PeterBJ

Printer VIP
Platinum Printer Member
Joined
Nov 27, 2010
Messages
5,064
Reaction score
4,914
Points
373
Location
Copenhagen Denmark
Printer Model
Canon MP990
Please post photos and description. I'm very interested in how you managed to get it right.

I have also tried letting the ink go straight down, by omitting the right angle bend in the syringe. My results were like those in the Rjettec video, with oversaturated sponges and only partly filled ink chamber.
 

The Hat

Printer VIP
Platinum Printer Member
Joined
Jan 18, 2010
Messages
15,628
Reaction score
8,698
Points
453
Location
Residing in Wicklow Ireland
Printer Model
Canon/3D, CR-10, CR-10S, KP-3
PeterBJ said:
Please post photos and description. I'm very interested in how you managed to get it right.

I have also tried letting the ink go straight down, by omitting the right angle bend in the syringe. My results were like those in the Rjettec video, with oversaturated sponges and only partly filled ink chamber.
I made up a refill adapter with a straight true path, it too got the sponge saturated but it worked.
http://www.nifty-stuff.com/forum/viewtopic.php?id=7533
 

gigigogu

Getting Fingers Dirty
Joined
May 7, 2011
Messages
150
Reaction score
2
Points
49
PeterBJ said:
Please post photos and description.
Here you are.

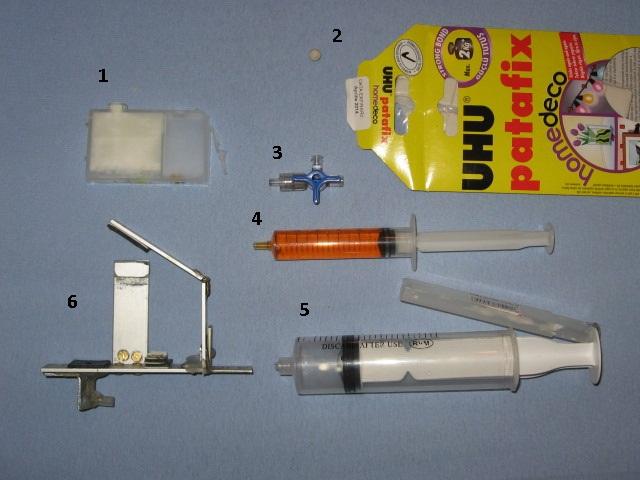
Overall view
8054_img_1.jpg

1 BCI-6 cartridge
2 Patafix
3 3-way stopcock
4 syringe with ink, filled with cartridge nominal capacity + 2 ml
5 50 cc syringe with plunger locking feature, for vacuum
6 holder

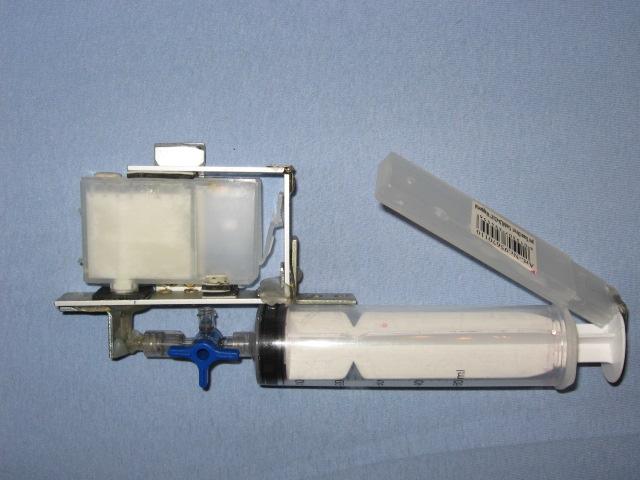
Seal the air vent with patafix, place cartridge in holder, connect the stopcock and vacuum syringe as in next picture
8054_img_2.jpg


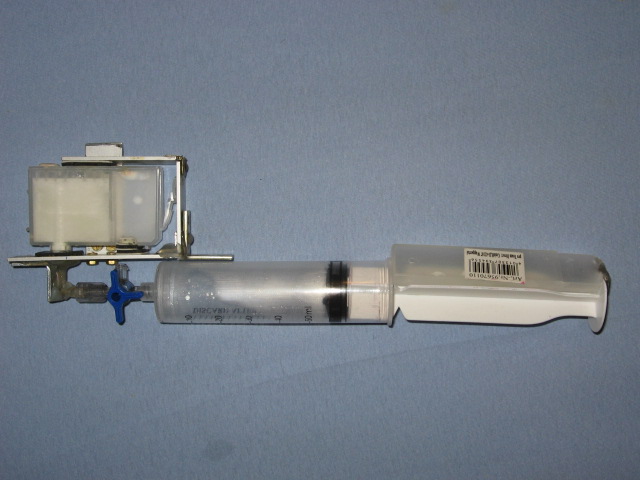
Pull the plunger and lock it, turn the stopcock to close the cartridge and to open the syringe, as in next picture
8054_img_3.jpg

Unlock the plunger and push it back. Some ink may come out so it needs caution. It can be better to disconnect the syringe and remove the ink.

Repeat one to three times, depends on cartridge capacity.

Disconnect the vacuum syringe and connect the syringe with ink.
8054_img_4.jpg


Turn the stopcock to connect the cartridge with the syringe.
8054_img_5.jpg

Ink will flow in cartridge, and at this moment will fill the upper sponge and space above.

Remove the patafix from air vent.
8054_img_6.jpg

The residual negative pressure in ink chamber will draw in ink, clearing the space above sponge and part of upper sponge.

Draw about 2 ml of ink back in syringe.
8054_img_7.jpg

As can be seen, the ink reservoir is full, the upper sponge and space above are clear of ink.

The final result
8054_img_8.jpg


Note: it requires some physical strength to pull the plunger for vacuum.
Note: the vacuum is high enough to bend inward cartridge walls. I do not know how can affect this the cartridge in long run.
 
Top