Well, it happened again. This was on a different i9900 and involved a different print head, but the problem was the same. I suspect that there is a design flaw in this print head (shared by the i9900/i9950/Pro9000/Pro9000-II). The problem began suddenly, with all of my prints being green. A nozzle check showed that the PM was completely missing. A head clean produced a perfect nozzle check, but printing even a single 4x6 produced banding and then green. A subsequent nozzle check showed a little PM at the top and bottom of the head, but nothing in the middle. I wont bore you with the details, but several different carts (included freshly refilled and purged&refilled) all gave the same results. I even tried a (GASP) OEM cart in the PM with no improvement. The purge pads were clean and a cleaning cycle always gave a good nozzle check, so the purge unit wasnt a suspect.
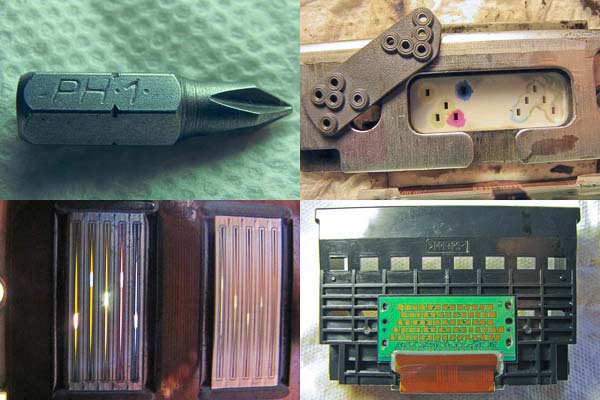
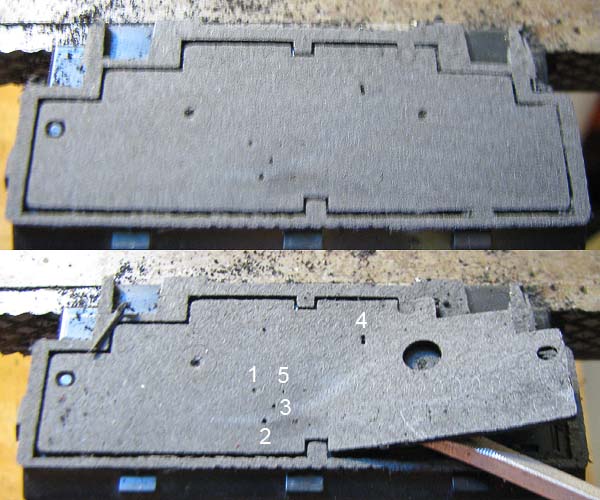
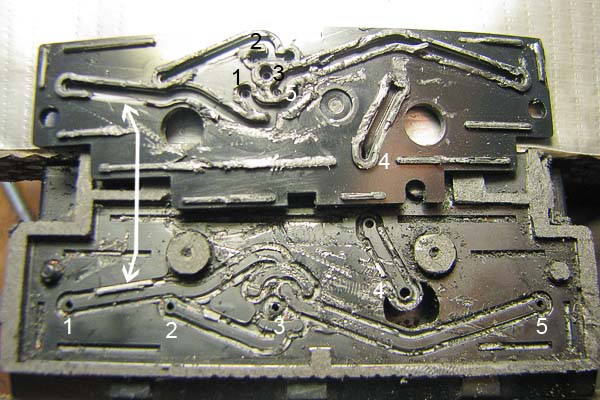
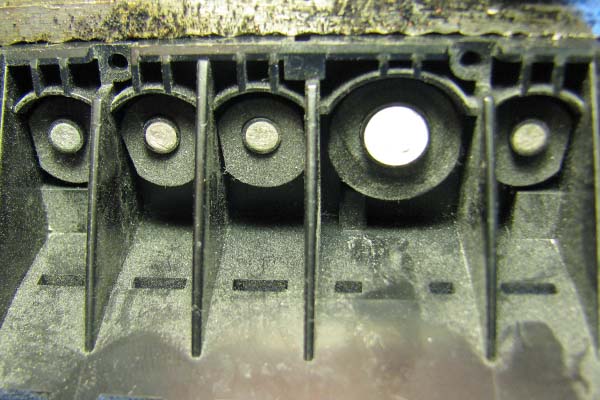
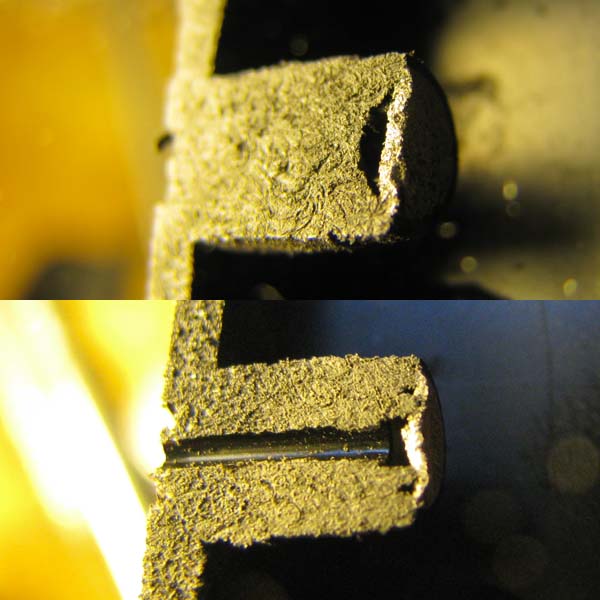
Because there was nothing to lose, the head was pulled apart as described in the first post in this thread. One improvement was to use the screwdriver bit shown below on the top left. It fit the screw heads perfectly much better than any screwdriver that I have. The photo on the top right shows that the rubber seal was doing a good job. After a quick alcohol purge, it was easy to see through the print head as shown on the bottom left, so the clog wasnt in the print head itself. As before, the clog was in the plastic body. The clog wasnt a total plug, allowing small amounts of ink to pass thats why a cleaning cycle gave a good nozzle check. When larger amounts of ink were required to print a photo, the clog wouldnt let enough ink pass, and the ink link was broken.
The clog was worked loose by pushing/pulling on a syringe filled with alcohol for about 10 minutes. Even after this much effort, it was obvious that more pressure was required on the syringe to get flow in the PM than in any of the other channels (but still a big improvement oven when I started). Since no further improvement seemed possible, it was decided to just put it together and try it. As was mentioned previously, it doesnt seem to be necessary to replace the plastic nibs holding the circuit board in place, so this step was skipped (bottom right).
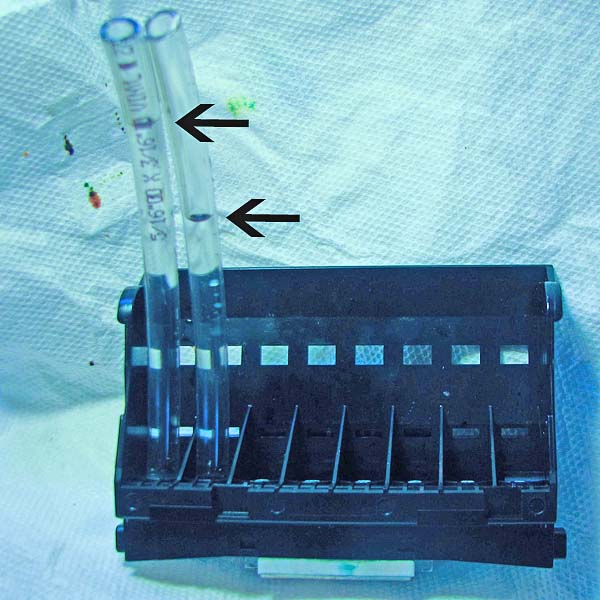
As a way to demonstrate the difference in flow through the PM and other channels, two pieces of 3/16 ID vinyl tubing were installed and filled to the top with alcohol. Note that the PM only dropped about as fast as the adjacent channel. In any case, the cleaned head was reinstalled in the printer and everything was back to normal all of my PM carts now work OK.
On a slightly different topic, I thought that I would show how I make the initial hole for the #4x1/2 SS screw used to seal the top fill hole on my carts.
Here is a video of the initial installation of the top fill screw straight into the cart, without drilling a pilot hole or tapping threads. No O-rings either. Ive been doing this for years and never have a leak due to a bad screw seal.
Points to note:
1. Yes, this will only work on printers that have sufficient clearance above the carts.
2. Yes the screw isnt straight. You try to shoot with the camera 2 away from the cart and keep your fingers our of the way while firmly gripping the cart in one hand and the drill in the other. In any case, an angled hole will seal as well as a straight hole.
3. I used to drive the screws down to push the tapered bottom of the head into the cart, but this isnt necessary and makes it easy to accidentally pull the threads out of the cart. By stopping the screw while the head is still above the cart, I dont pull out the threads anymore.
4. I use a drill to remove the screws, but I always install them with a screwdriver to prevent driving them in too far.
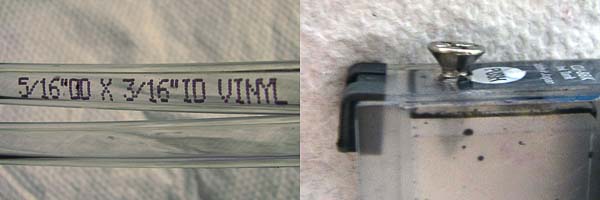
The tubing is shown to document its size for those interested in a way to apply low pressure to a cleaning solution being pushed through the head.