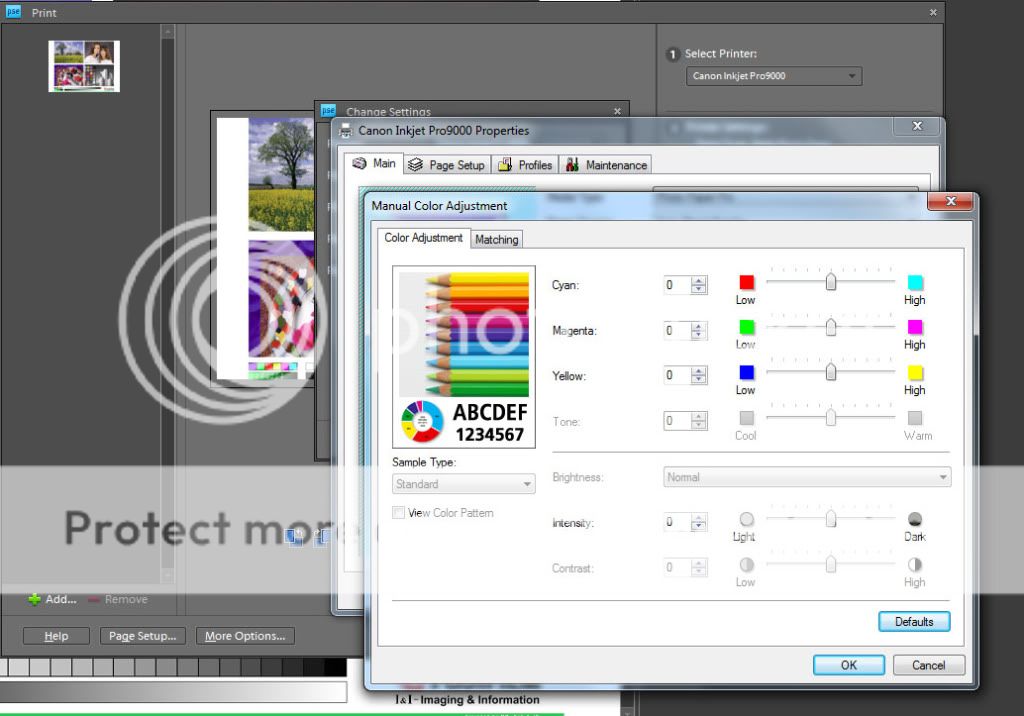
This is where we tell Photoshop that IT is managing colors and we specify the printer profile we are going to use.
Photoshop puts a reminder that the Color Intensity adjustment in the printer driver needs to be turned off. If you forgot you can click on the printer preferences and that will allow another route to turn it off. We already did, so there is no need for that.
The image will be close to identical to that from Qimage. If you look carefully, you will see Qimage has put some extra sharpening to the print. That can also be turned off in Qimage if you want. Qimage also has other other subtle color routines that make slight changes depending on what neighboring colors are. This is part of the sharpening routines. Otherwise, most times the images will appear identical and should look very very close to what you see on your screen.
If both images appear identical and your screen image is much brighter, you need to turn the brightness down. Of the three monitors I own, I have the brightness levels range between 20% to 40% of the maximum. This is typical of LCD monitors that are normally far too bright.
With this workflow the pictures coming from your printer will look like they were professionally made because that is how the pros do it! and you now have the tools and knowledge of how to do it properly.!!!!
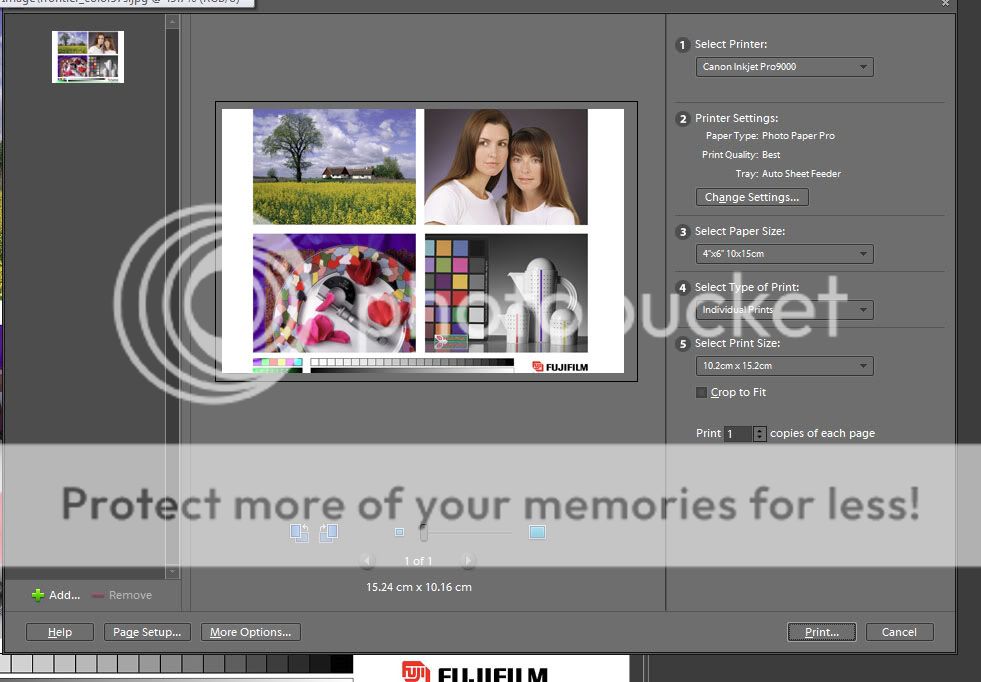
Once you've made the settings, they stick and to print more photos, you just select the photo and send it to print!
Thank you for your wonderful guide and for all of your contributions on this board. It is because of people like you that I have been inspired to try and understand color profiling.
My profiled prints using aftermarket inks are now better than my OEM Canon inks without a custom profile!
is a handy Win XP Color Management Profile applet for the Control Panel. It lets you install and review profiles by device class and in some other forums it has been stated it gives more stable registration than the right click install option.
Precision Color inks & Kirkland Professional Glossy on High Quality Setting. Created on MP500 but will work very well up to the iP4500 and multifunction variants. Only CMYK on CLI-8 tank based printers.


")