fortisi876
Getting Fingers Dirty
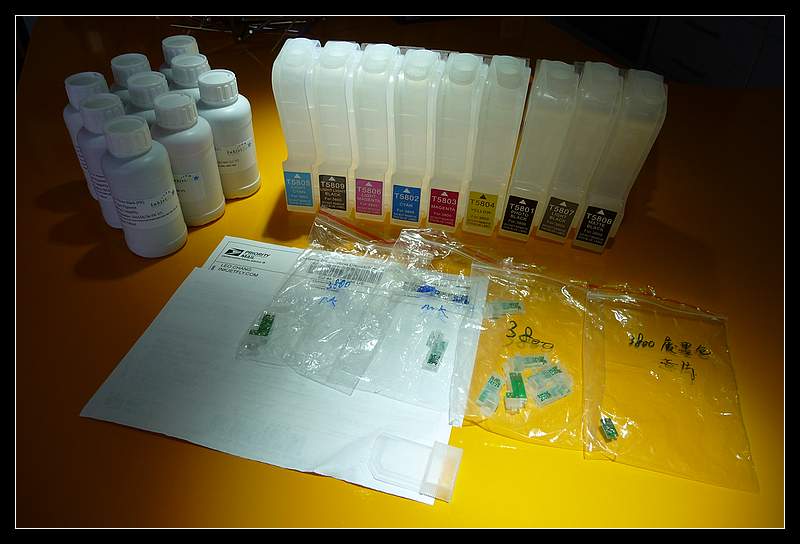
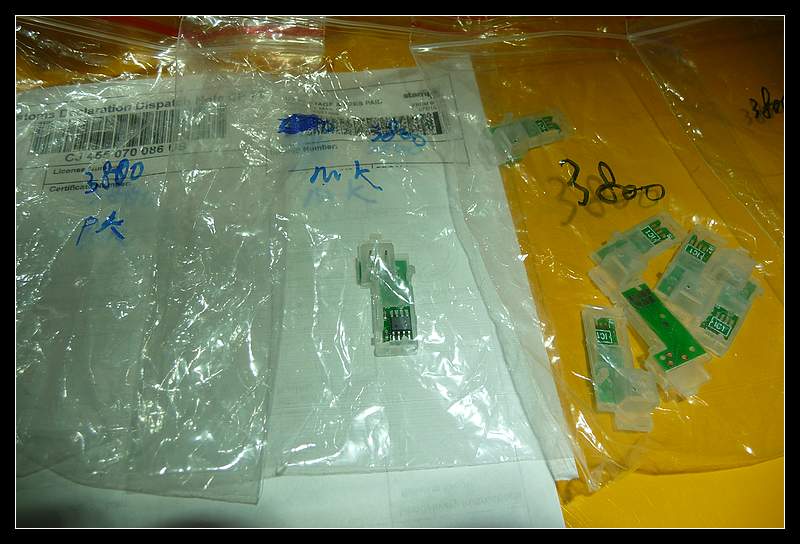
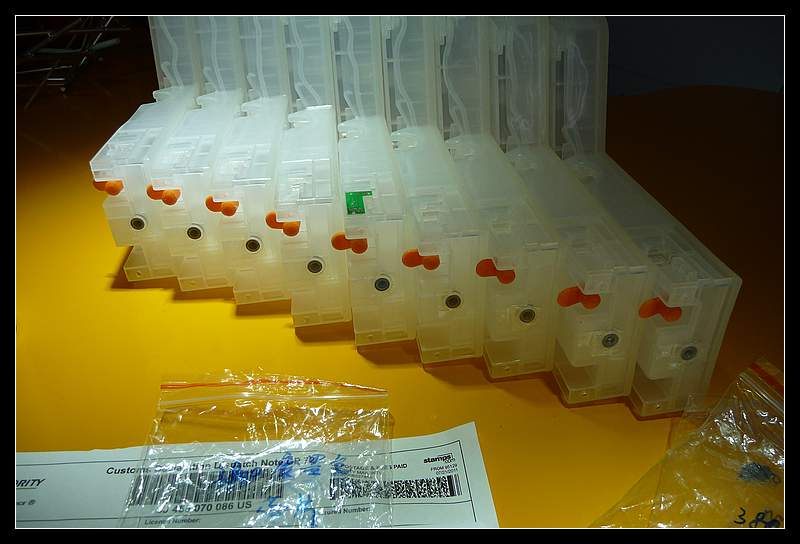
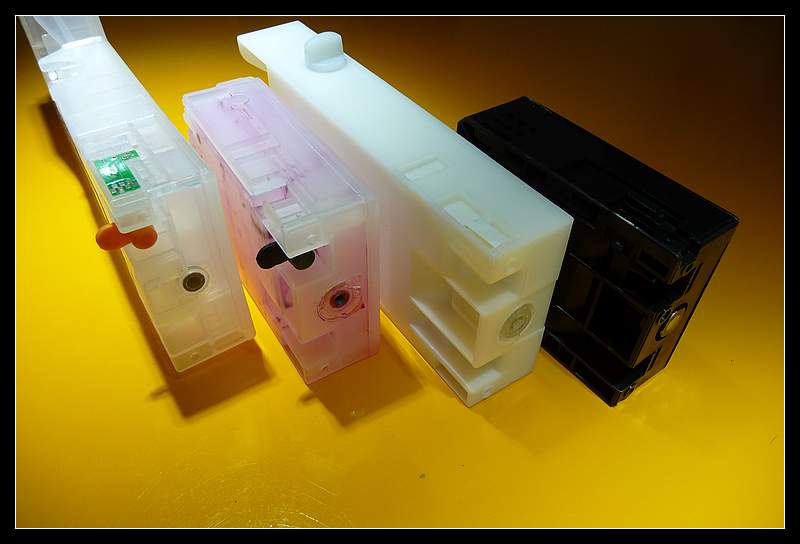
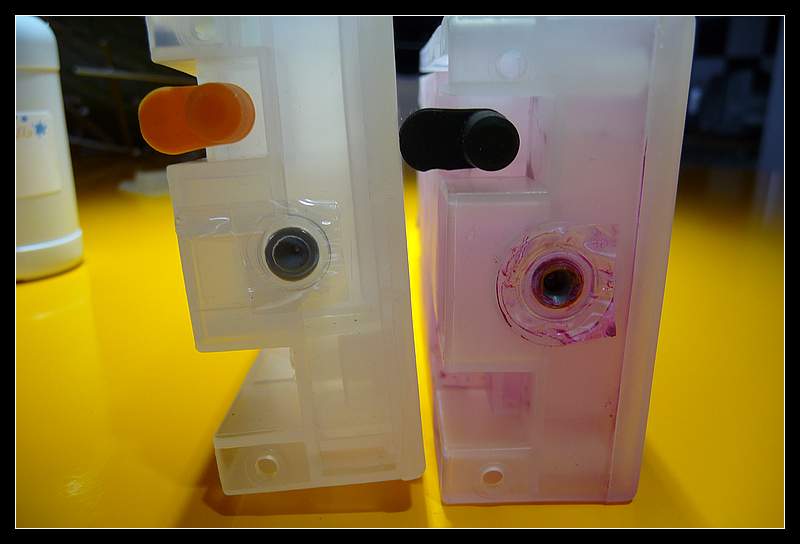
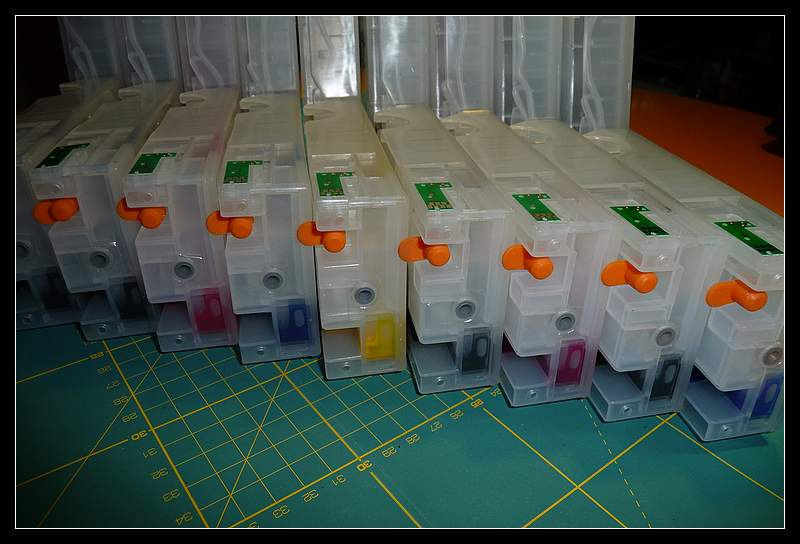
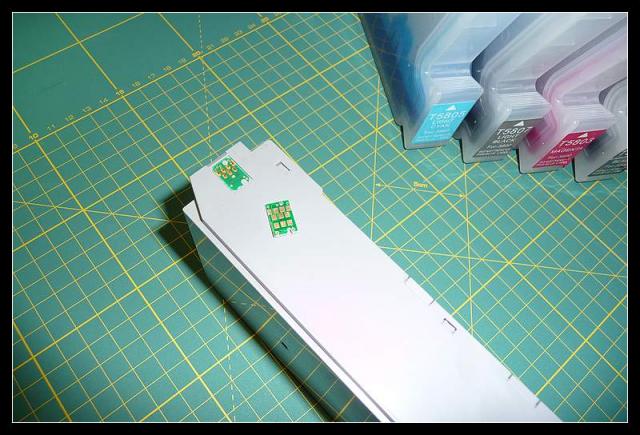
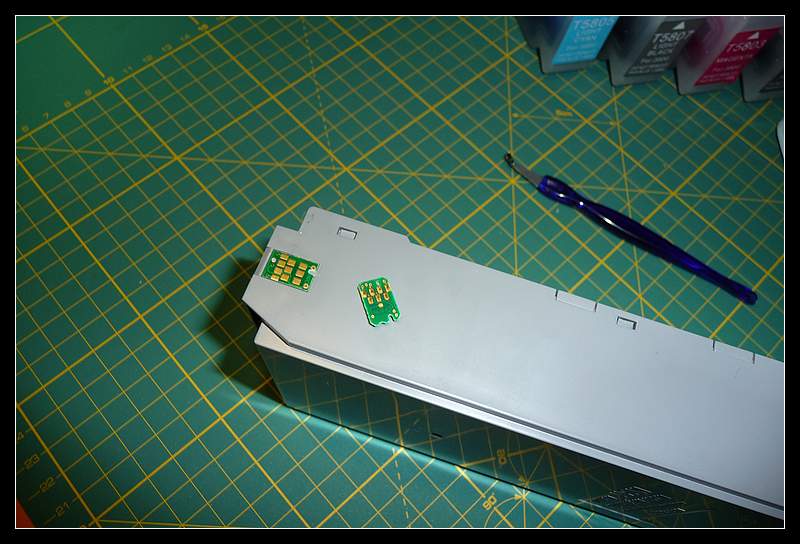
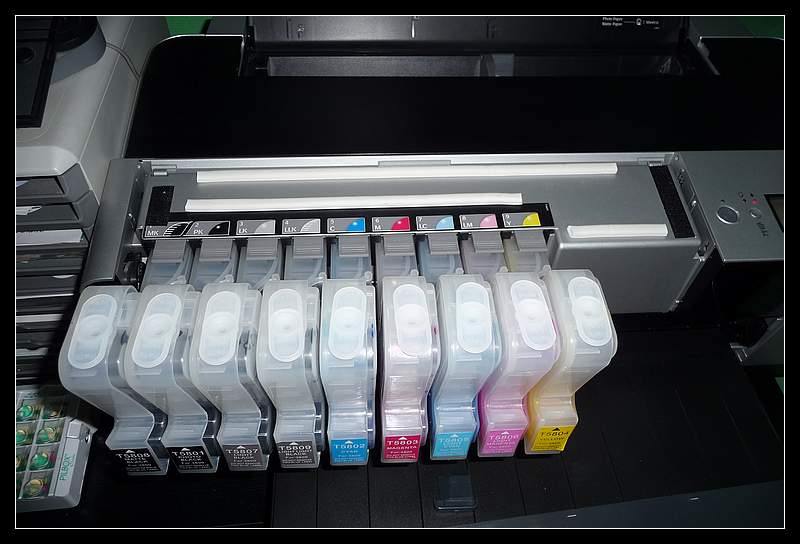
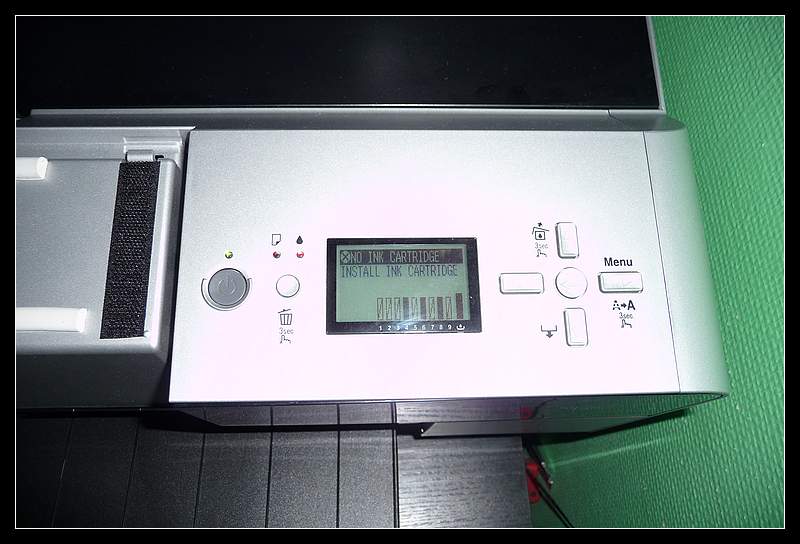
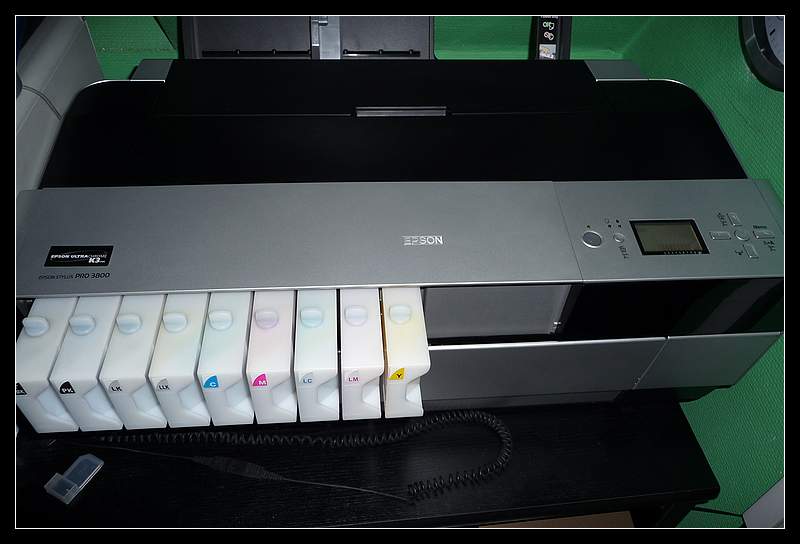
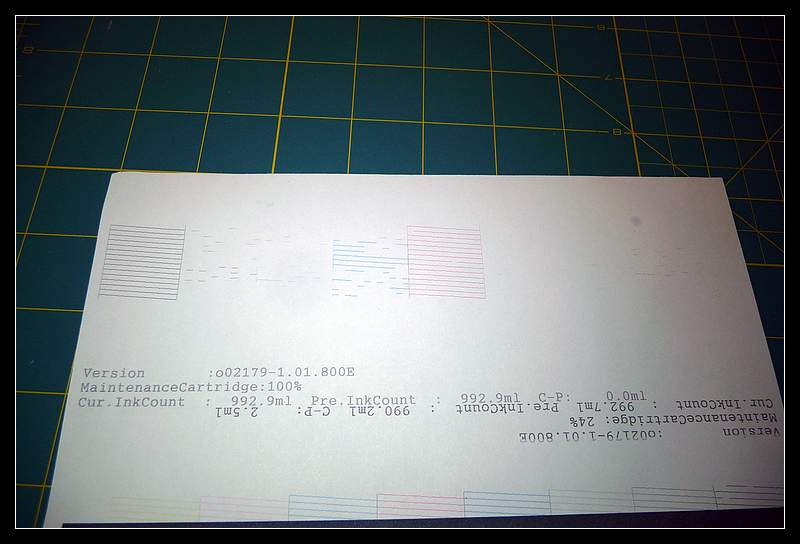
Any updates?!?!pharmacist said:Just a quick update: Inkjetfly upgraded their refillable Epson Pro 3800/3880 cartridges and a time ago and recently Leo Chang contacted me to have this system tested for him as this system has some interesting new features and most importantly the quality of the refill ink. As soon as I have received the cartridges I will perform some tests on it and report back.
")
I was looking to purchase the blue resetter myself when I just noticed they're $95 on eBay, anyone know a cheaper priced source?
If not, for the additional $75 I'll just buy the all new inkfly cart set with the maintenance tank chip, I read that they're finally auto reset now, anyone try them???