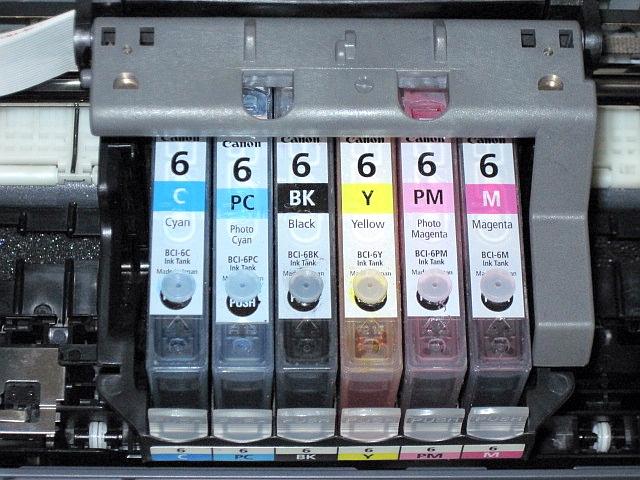
Canon BCI-3, BCI-6, BCI-3eBK, CLI-8 and PGBK ink cartridges - flushing, refilling and sealing the refill hole.
This post is my attempt to assemble some of the best ideas and considerations I've found on this forum PLUS some of my own. I update it often. I've tried ALL of the methods and materials described on this post. My thanks to the forum contributors.
I've been refilling Canon cartridges since October, 2008. Three family members and two neighbors now avail themselves of my services so I have refilled enough cartridges to go through three refill kits from
Hobbicolors and a few more from
Precision Colors. Both of these eBay suppliers have many kit assortments of high quality inks and will readily accommodate special requests. They are pleasant to do business with.
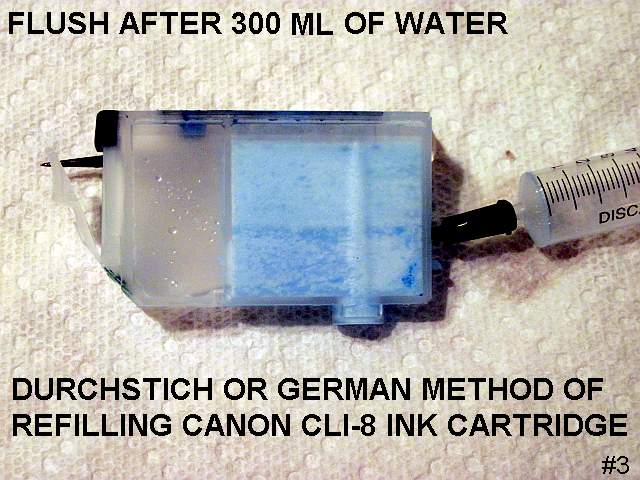
The Durchstich or German refill method for Canon OEM (Original Equipment Manufacturer) ink cartridges is simple, CLEAN and quick. See this YouTube video posted by InkJet Master
ghwellsjr: German fill of virgin BCI 6
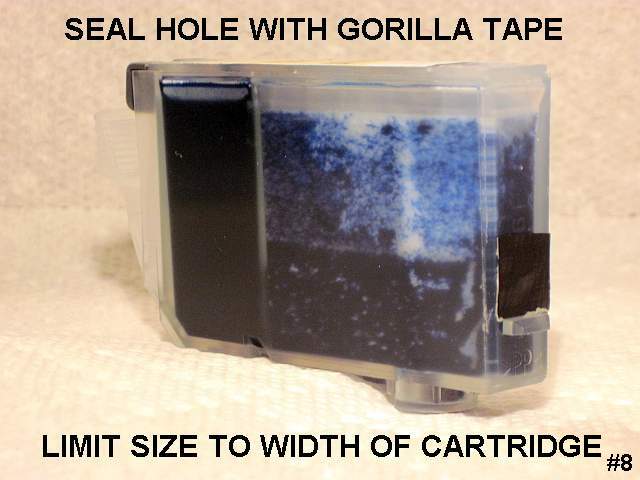
Early versions of this method entail making a hole near the bottom-rear of the sponge side of the ink cartridge, then inserting a 2" syringe needle along the bottom of the cartridge passing the needle between the bottom sponge and the outlet filter to reach the passage into the reservoir chamber. Because of the design dynamics, ink will not leak from this hole if left open. However, sealing the hole after refilling keeps the design purpose of the factory vent maze intact. A new product called
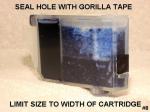
"Gorilla Tape" serves the purpose well. Don't fold the edges of the Gorilla Tape around the sides of the cartridge because the tape thickness interferes with inserting the ink cartridge into the print head. Snip the edges off with scissors. It can be re-used several times.
The German method doesn't lend itself to flushing the cartridge easily AND the ink reservoir should be EMPTY before refilling. For these reasons, it's not my first choice of refill methods. However, for those who refill NEWLY-EMPTY cartridges at least every 30-60 days, flushing is NOT needed. Thus the German method is probably best for them. Making a hole higher up on the cartridge avoids disturbing the bond between the lower sponge and the output filter. A
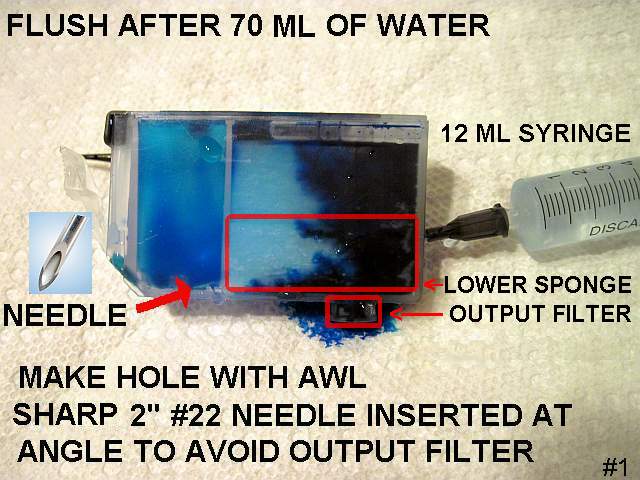
sharp 2" #22 gauge (or smaller) needle is best for the initial penetration of the sponge. The needle must be guided at an angle towards the passage between the sponge and reservoir. See posts
#5 and #8 by
Aussieinker. See the instructions and graphics at the end of this post.
See
this post by InkJet Master
Grandad35. He explains the significance of maintaining a continuous surface tension bond between the bottom sponge and the output filter - AND between the output filter at the cartridge outlet nozzle and the print head. He taps the cartridge on a solid surface before installing it to ensure the bottom sponge and outlet filter are in place.
On this same subject, see
this post by InkJet Master
on30trainman. To avoid dislodging the output filter of the BCI-3eBK pigment type cartridge he advises NOT TO BACK-FLUSH using a device fed by faucet pressure.
See
this excellent post by
paulcroft which illustrates the anatomy of a Canon BCI-6 ink cartridge. Read posts #4 and #6 on the same thread by InkJet Master
mikling regarding the design and purpose of the sponge-side vent maze.
I started out refilling by drilling a 1/8" hole in the dimple near the top front edge of the BCI-6 cartridge. I used a stainless steel self-tapping bugle-head screw to seal the hole. If it leaked I used a larger screw. A neighbor gave me twenty Canon cartridges that had been empty for months. Before refilling, I flushed out the old ink residue. I cut away the plastic label above the factory fill hole with a razor blade and dug out the plastic ball plug with a diaper pin.
My first attempt at flushing was to place the cartridge under a
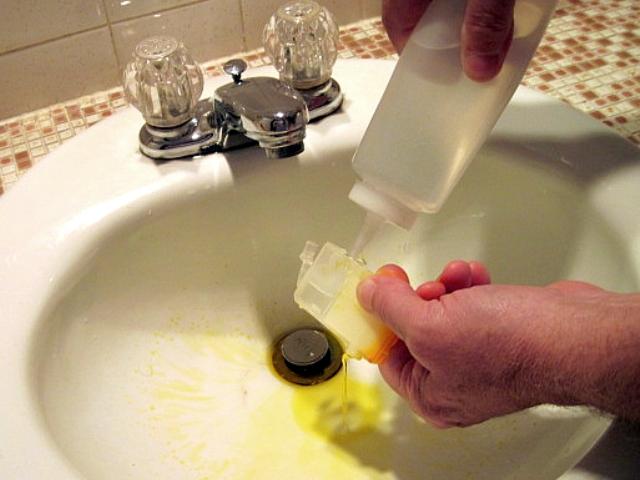
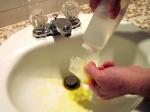
utility sink faucet and to direct a flow of warm water at the fill hole. This method is simple and effective but wastes time and water. A simpler and quicker method is to use a 16 oz. (1 pint) squeeze bottle used for dispensing ketchup and mustard. It has a cap with a tapered tip which provides a low pressure fit with the refill hole. Flushing and blowing dry the cartridge in the normal DIRECTION THAT THE INK FLOWS with LOW PRESSURE ensures that the bottom sponge and outlet filter are not dislodged and avoids messes due to faucet pressure and air pressure accidents.
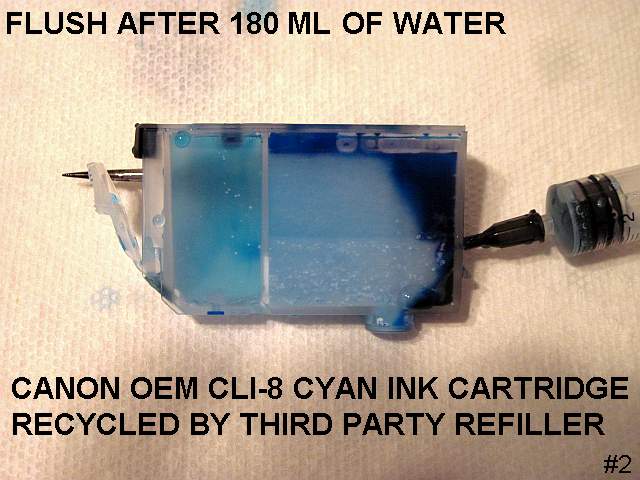
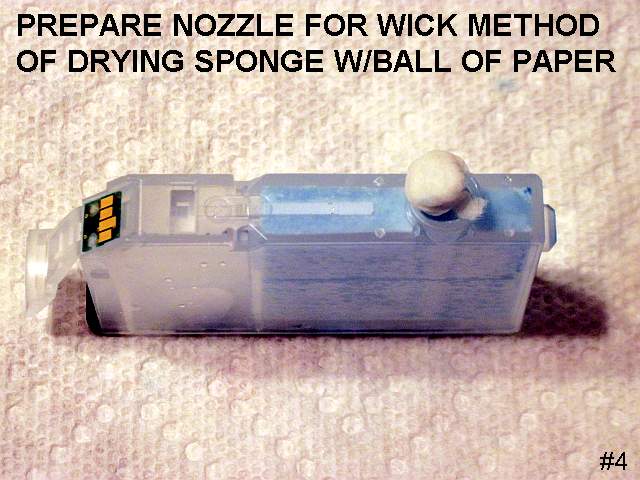
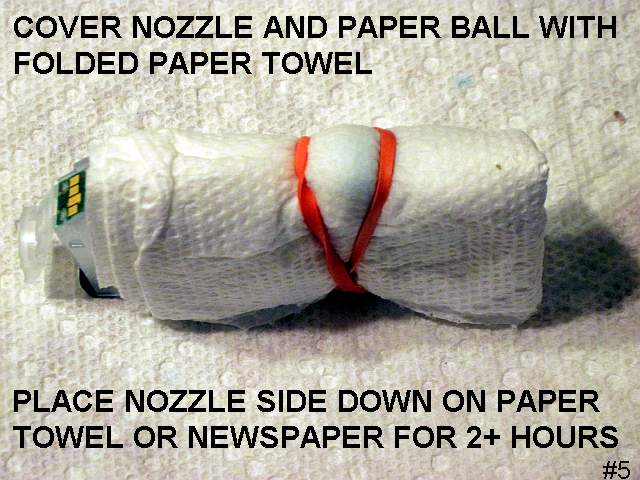
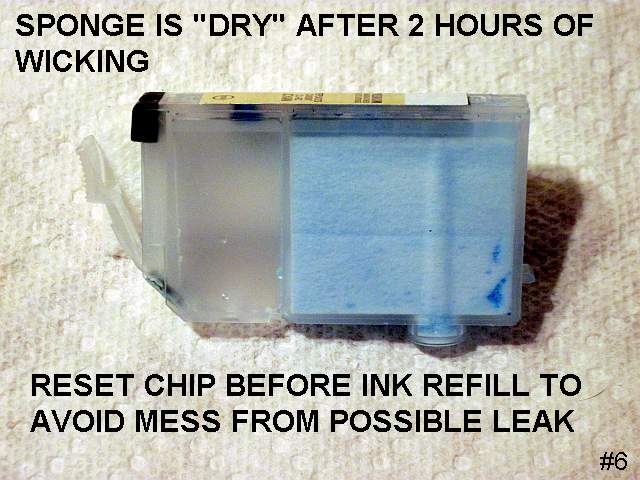
The wide cartridges contain black PIGMENT type ink which STAINS the sponge. Flush until the water runs clear. Most Canon OEM DYE type cartridge sponges are flushed CLEAN after using one fill of warm tap water which is relatively free of high mineral content in this area. Others may benefit by using distilled water for a final flush. For the top-fill method, to remove the water from the ink reservoir and sponge, I simply place my mouth over the open fill hole and blow while holding the cartridge over the sink. Water escapes from the ink outlet and the sponge side vent hole. For the German method, extract water from the reservoir with a needle and syringe, then blow into the vent to expel excess water held by the sponge. At first I dried the cartridge sponges further by leaving them in the sun for a day or two but learned over time that a slightly damp sponge seems to absorb ink better. If a sponge dries out it will absorb more ink but it sometimes takes a few minutes for refill ink to permeate the bottom sponge.
See this
recent post on the InkJet Refill Forum by InkJet Master
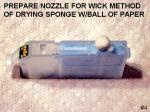
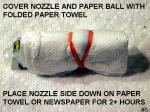
ghwellsjr. It illustrates a very effective method (capillary action) for drying the ink cartridge sponge.
In some cases when flushed or empty "virgin" cartridges have become bone dry, the sponge (whole or part) has become ink repellent - a condition that contributes to ink starvation, evidenced by stripes or banding in the printed text or image. I found this to be true mostly with a few of the black pigment BCI-3eBK and PGBK cartridges and to a lesser degree with the dye type BCI-3, BCI-6 and CLI-8 cartridges. Purging and drying the sponge is occasionally necessary to keep the cartridge flowing properly. In those cases where the the sponge has become ink-repellant, a cartridge conditioner solution will restore sponge absorbency. If I suspect poor absorbency with a black pigment type cartridge or am confronted with this anomaly after a refill, I extract the ink with a syringe and save it. Then I flush with water, blow and dry the cartridge and then inject a
cartridge conditioner solution developed by InkJet Master
pharmacist. I let it permeate the cartridge sponge for a few hours and then blow and dry the cartridge before refilling.
Sealing a fill hole with a hot glue gun, hot wax or Elmer's glue leaves a residue which must be scraped off or drilled out for subsequent refills or flushings.
Self-tapping bugle-head metal screws are satisfactory as an alternative method to seal the factory fill hole. Non-stainless steel screws are subject to corrosion and all screws sometimes leak or strip out the plastic hole after repeated use. Plastic (nylon) screws are OK but the correct size is difficult to find locally and cost more than metal screws. The shortest I found were 3/8" in length - 1/4" would be better. Also, a thread must be tapped in the cartridge. In most cases 'O' rings used with either flat-head metal or plastic screws are simply not needed. 'O' rings cause the screw heads to protrude to the extent that they may interfere with the print head carriage path on some Canon models capable of printing labels on CDs. I've tried all the methods listed above. I prefer a pan-head SILICONE RUBBER PLUG with straight sides.
Refer to
this post by InkJet Master
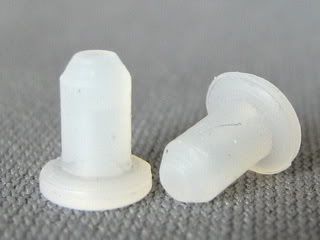
Lin for details of various silicone inkjet refill plugs. I prefer plug "C", a 5/32" pan-head silicone rubber plug included with the ink refill kit available from Precision Colors or in lots of 100 from
Zhuhai Winrun Technology. (Enter keyword "plug" in the search box)
Preparing the factory fill hole is a tedious procedure but it presents the most SECURE AND DURABLE point to repeatedly access the ink reservoir. The sponge side vent maze and factory fill hole is covered with an adhesive plastic label which is part of the overall scheme to seal the fill hole. Removing that part of the label from the factory fill hole to the front of the cartridge is discouraged because the adhesive beneath the label is hard to remove. Instead, use an
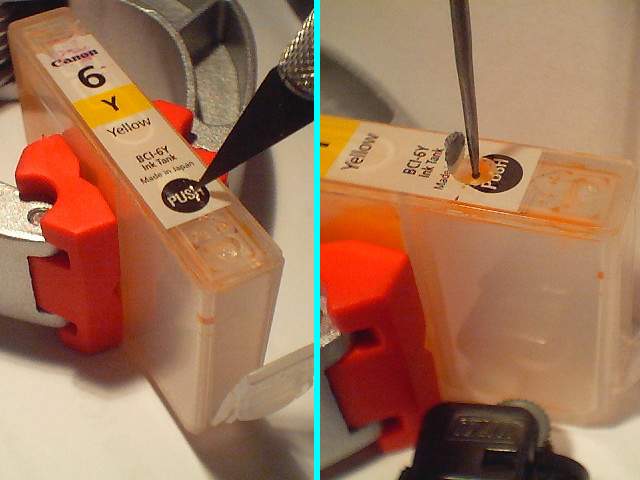
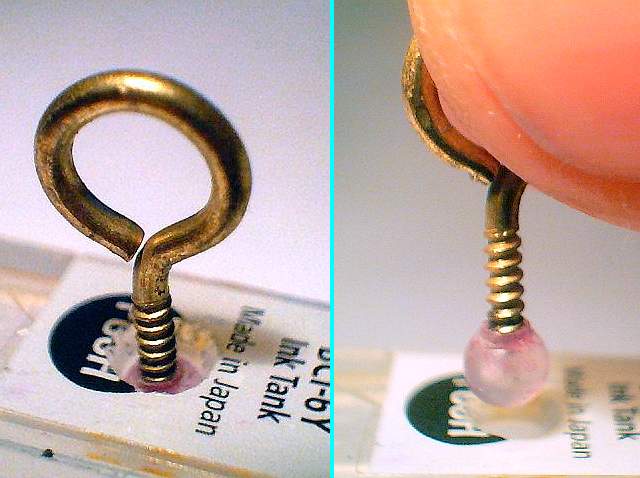
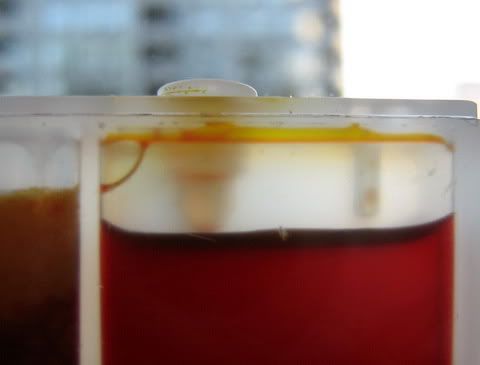
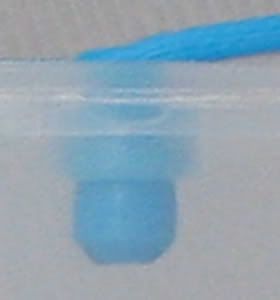
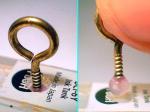
X-acto knife or a sharp pen knife to cut out a circle around the inside edge of the factory fill hole. Exposed is a hard plastic ball wedged in a tapered hole. To remove the ball, heat the tip of a sharp awl in the flame of a candle or cigarette lighter. Carefully insert the hot tip into the center of the plastic ball to melt a "starter" hole about one half the depth of the ball. Remove the hot tip. Let the ball cool and then extract it using a hook type awl or a tapered-thread eye screw. After extracting the ball, run a 5/32" drill bit through the factory fill hole to ensure a consistent fit for the Precision Colors 5/32" pan-head silicone rubber plug. Push the rubber plug into the tapered factory fill hole until the pan-head is flush with the surface of the cartridge. Sealing occurs at the BOTTOM edge of the refill hole. It's a firm, secure fit but is easily removed and re-inserted using only your fingers.
Some feel preparing the factory fill hole is too much trouble and merely drill a new hole in the dimple near the front of the cartridge. This is the procedure recommended by Hobbicolors. The Hobbicolors kit furnishes a set of 1/8" pan-head silicone rubber plugs. The 1/8" plug fits too loose in the factory fill hole but if a new 1/8" hole is drilled the plug fits slightly loose, seals OK and looks neat. A 7/64" hole is too tight. A new 5/32" hole can be drilled for the Precision Colors silicone rubber plug. Both ink suppliers, Hobbicolors and Precision Colors, sell extra silicone rubber plugs apart from their refill kits. Once a hole is prepared for the rubber plug, repeated refilling or flushing is easy and trouble-free.
For top-fillers using either a syringe or a squeeze bottle, InkJet Master
mikling passes along a
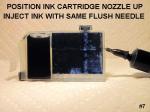
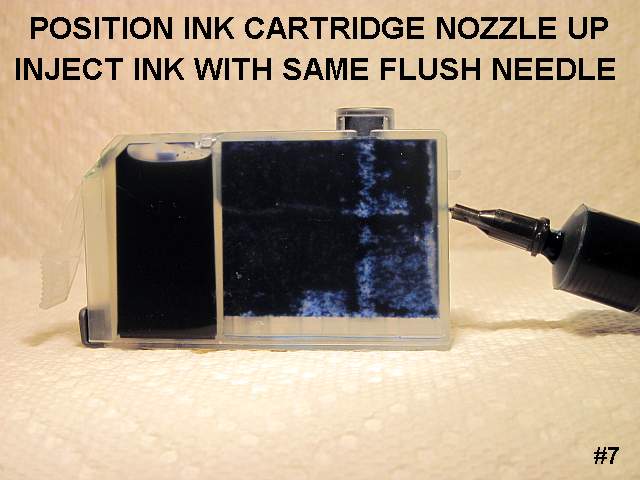
helpful tip to avoid over-saturating the sponge and to reduce or eliminate drips after removing the cartridge from the filling clip. For the German refill method, it's best to wait until the ink reservoir is EMPTY before refilling. Here's why: If the sponge is still saturated prior to refilling, the air displaced from the reservoir side while refilling may expel ink remaining in the saturated sponge out of the cartridge through the path of least resistance creating a mess. Position the cartridge NOZZLE UP, confirm the needle end is INSIDE the reservoir and then slowly inject ink until the reservoir is full. For a dry sponge, retract the needle slowly while injecting ink along the length of the bottom sponge. See
these illustrations by InkJet Master
pharmacist.
For either refill method, before inserting the cartridge into a printer, position yourself over a sink and gently blow into the vent to EXPEL A DROP or two of ink. This ensures the vent is open and that ink is present at the outlet. It also lessens the chance of further drips and washes away impurities that may be on the outlet nozzle. An alternative to expelling ink by blowing into the vent is to blot or wick ink from the outlet nozzle using a folded paper towel.
The above information and procedures may or may not apply to third-party ink cartridges. I'm among many on this forum who think Canon OEM ink cartridges are best for refilling. My advice to those who have empty Canon OEM cartridges on hand is to prepare the factory fill hole and flush them ahead of time as described above. Store them for drying with the fill hole open. When the need is eminent, refill them with FRESH ink. Storing refilled cartridges months ahead of time invites unforeseen trouble relating to leakage, dry outlet nozzles, evaporation losses and stale ink. To seal the outlet nozzle for temporary storage, shipment or refilling, the orange clips available from Precision Colors ($1.00 ea.) are the best. A cheap and effective alternative is a food sealing wrap, a Glad product called "Press'n Seal." It's sticky on one side and seals better than electrician's vinyl tape.
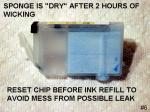
For cartridges with an electronic chip such as the Canon CLI-8 and PGBK, it's best to
re-set the chip while the cartridge is EMPTY to avoid the possible mess of ink dripping all over the re-setter from the outlet nozzle of a newly-filled cartridge. Chip re-setters are available from many companies who serve ink re-fillers including eBay ink suppliers.
See this
earlier post on Ink Jet Refill Forum to sample comments, pro and con, about the evolving methods, materials, tools and supplies discussed above.
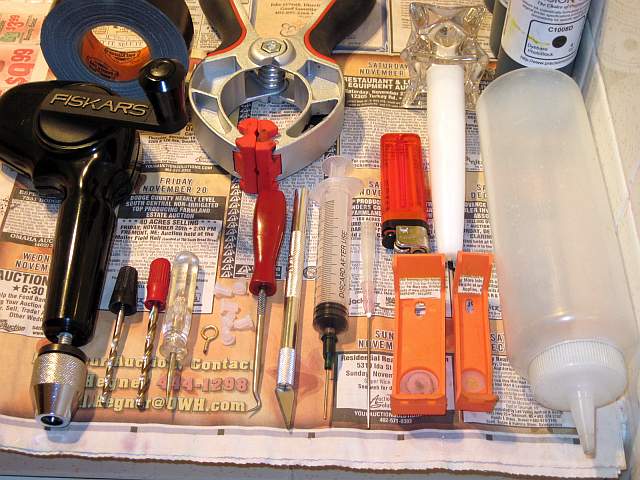
My bare-bones refilling tools and requirements are:
A utility sink with hot water and a well-lit adjacent work surface. Newspapers. A roll of paper kitchen towels.
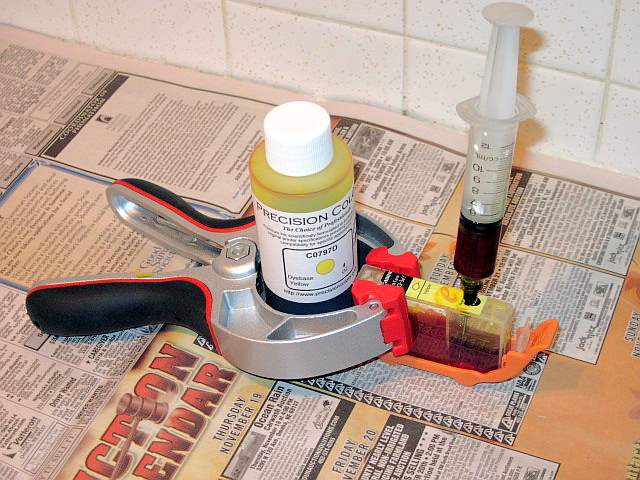
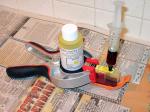
A clamp to hold the cartridge and ink bottle while preparing the fill hole and filling. Mine is a Pittsburgh 2" aluminum spring clamp, Item 94922 purchased at Harbor Freight Tools, made in China.
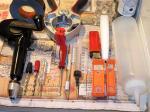
An X-acto knife or equivalent, a cigarette lighter, a candle, a straight awl, a hook-type awl and a tapered-thread eye screw for preparing a Canon ink cartridge factory fill hole. Ace Hardware.
Fiskers hand drill. Ace Hardware, $13.00. 1/8" and a 5/32" drill bits - use electrical twist-on connectors for handles.
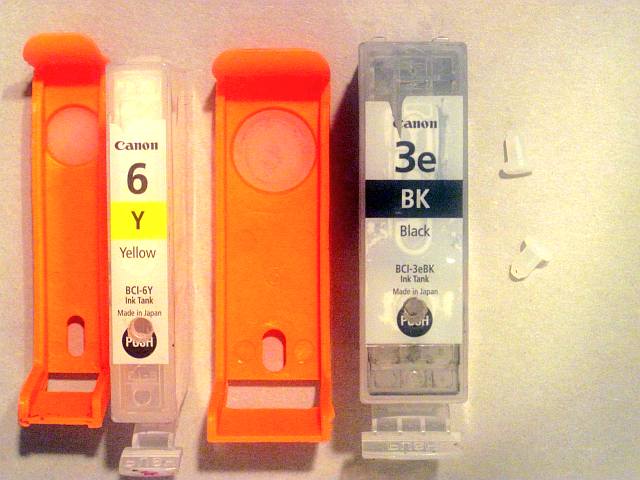
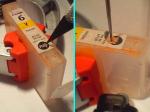
Two cartridge clips to keep the cartridge from leaking while filling - one for dye cartridges and one for the wider pigment cartridges. They simply snap around the cartridge. The best are the orange clips available from Precision Colors ($1.00 ea.) Some third party refillers use a different type of orange clip, G&G, for example.
Canon OEM caps can be used with rubber band retainers. See
this site for storage/re-filling clips that will remain upright on a flat base.
A 16 oz. (1 pint) squeeze bottle with a cap that has a tapered tip to use for flushing ink cartridges. Sold as condiment (ketchup) dispensers. Available at restaurant supply stores and some retail stores.
A 12 ML syringe with a 1 1/2" needle supplied with the refill kit. Some might prefer squeeze bottles for each ink color:
Howard Electronics OctoInkjet (UK) Test new squeeze bottles with water and moderate pressure before filling them with ink to ensure the caps and needles don't leak.
A supply of 1/8" or 5/32" pan-head silicone rubber plugs which come with the refill kits.
Bulk ink - I prefer the 4 oz. bottles. The 12 ML syringe cylinder exactly fits the 11/16" bottle neck allowing ink to be drawn from the bottom of the bottle.
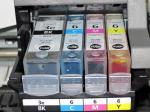
Click on the thumbnail images below to enlarge for viewing.


~~~~~~~~~~~~~~~~~~~~~~~~~~~~~~~~~~~~~~~~~~~~~~~~~~~~~~~~~~~~~~~~~~~~~~
Requirements to flush, dry and refill Canon OEM ink cartridges using the Durchstich or German method:
A sink with hot water and a well-lit adjacent work surface - newspapers, roll of paper kitchen towels, rubber bands, awl or ice pick, pen knife, 12ML syringe, #22, 2" sharp needle, bulk ink and a strip of Gorilla tape or "Press'n Seal" food wrap. A 60 ML syringe makes flushing easier.
Use the awl to make a hole larger than needle-size at the rear of the cartridge centered slightly below the junction of the two sponges and angled slightly downward. Use the pen knife to trim off the raised plastic ridge around the circumference of the newly-made hole. Insert the 2" SHARP needle and carefully guide it at an angle through the CENTER OF THE SPONGE towards the hole located at the bottom of the wall that separates the sponge side from the ink reservoir. If the needle encounters an obstruction, simply retract it about a half inch, twist within a half-turn left or right and redirect it to a different direction until the needle passes freely through the hole. Confirm visually that the end of the needle is INSIDE the ink reservoir. Once a path through the sponge is made, subsequent insertions (with a sharp or blunt needle) are easy. For more details, click on the thumbnail images below.