- Joined
- Jan 18, 2010
- Messages
- 16,191
- Reaction score
- 9,137
- Points
- 453
- Location
- Residing in Wicklow Ireland
- Printer Model
- Now have 3 Ender-3 V3 Plus SE/
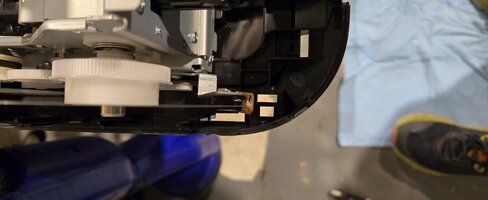
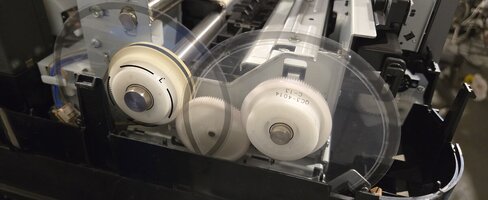
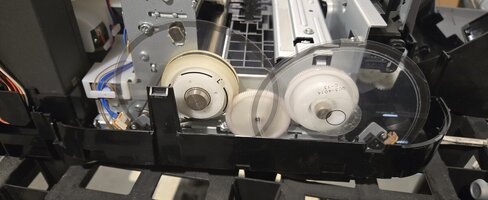
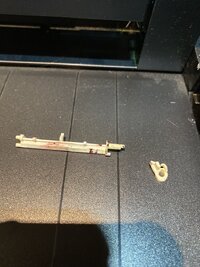
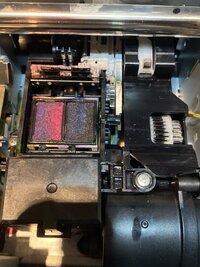
This is a Pro 10 machine, but the case is the same..
https://www.printerknowledge.com/threads/canon-pro-100-cabinet-removal-procedure.14918/post-129909but any clarification would be tremendously appreciated.