I'm looking forward to your new findings! ")

Btw here are the nozzle setups for two other Canon printers, according to this (german) site:
iP4300 (=iP5200):
512 PGBK
512 photoBK (5pl)
512 yellow (5pl)
1024 cyan (1pl/5pl)
1024 magenta (1pl/5pl)
iP5300:
512 PGBK
512 photoBK (5pl)
512 yellow (5pl)
1024 cyan (1pl/2pl/5pl)
1024 magenta (1pl/2pl/5pl)
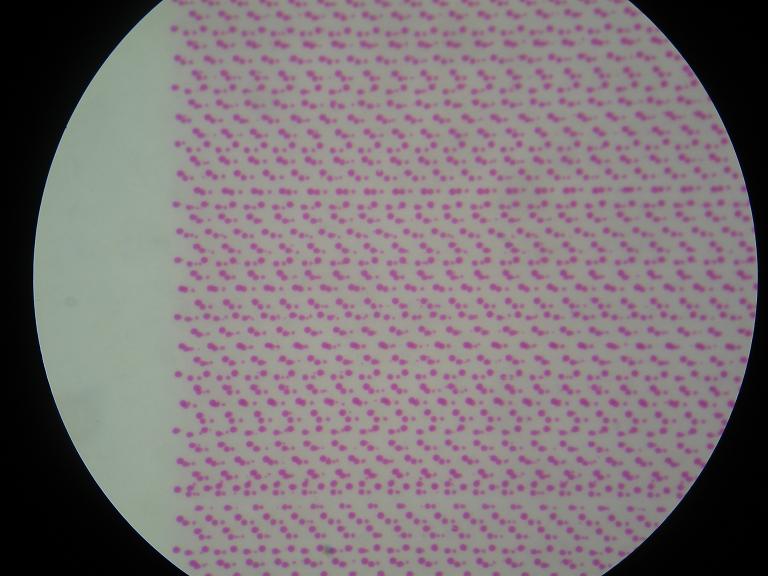
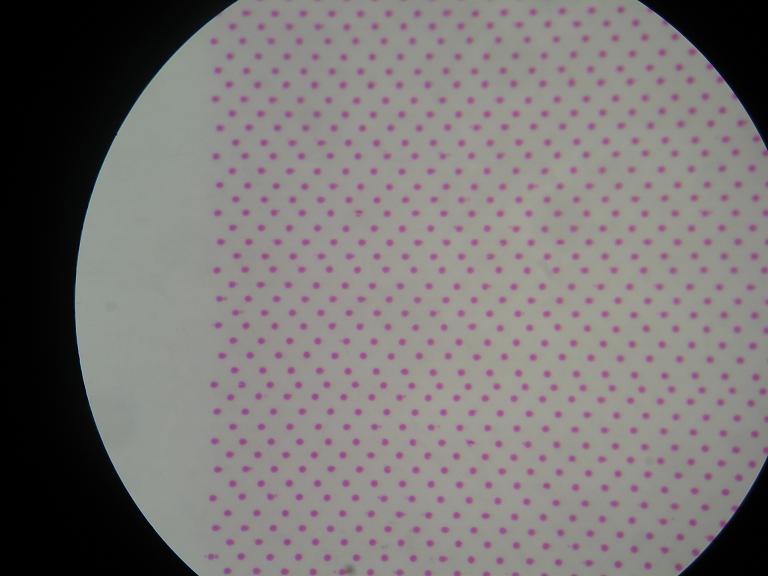
The first one I find understandable, but the second one (1024 nozzles with 1/2/5pl) sounds really odd. I think it's either not build symetrically, or it has 6 rows of nozzles per color (like this: Oo. .oO ) instead of the four rows per color discussed here with the iP4000 ( Oo oO ).
btw: I contemplated to make a test with my iP5200 by putting some tape over one side of the magenta and cyan nozzles and see how the nozzle check print would look like. But then I did not dare to do that, because it might damage the head.
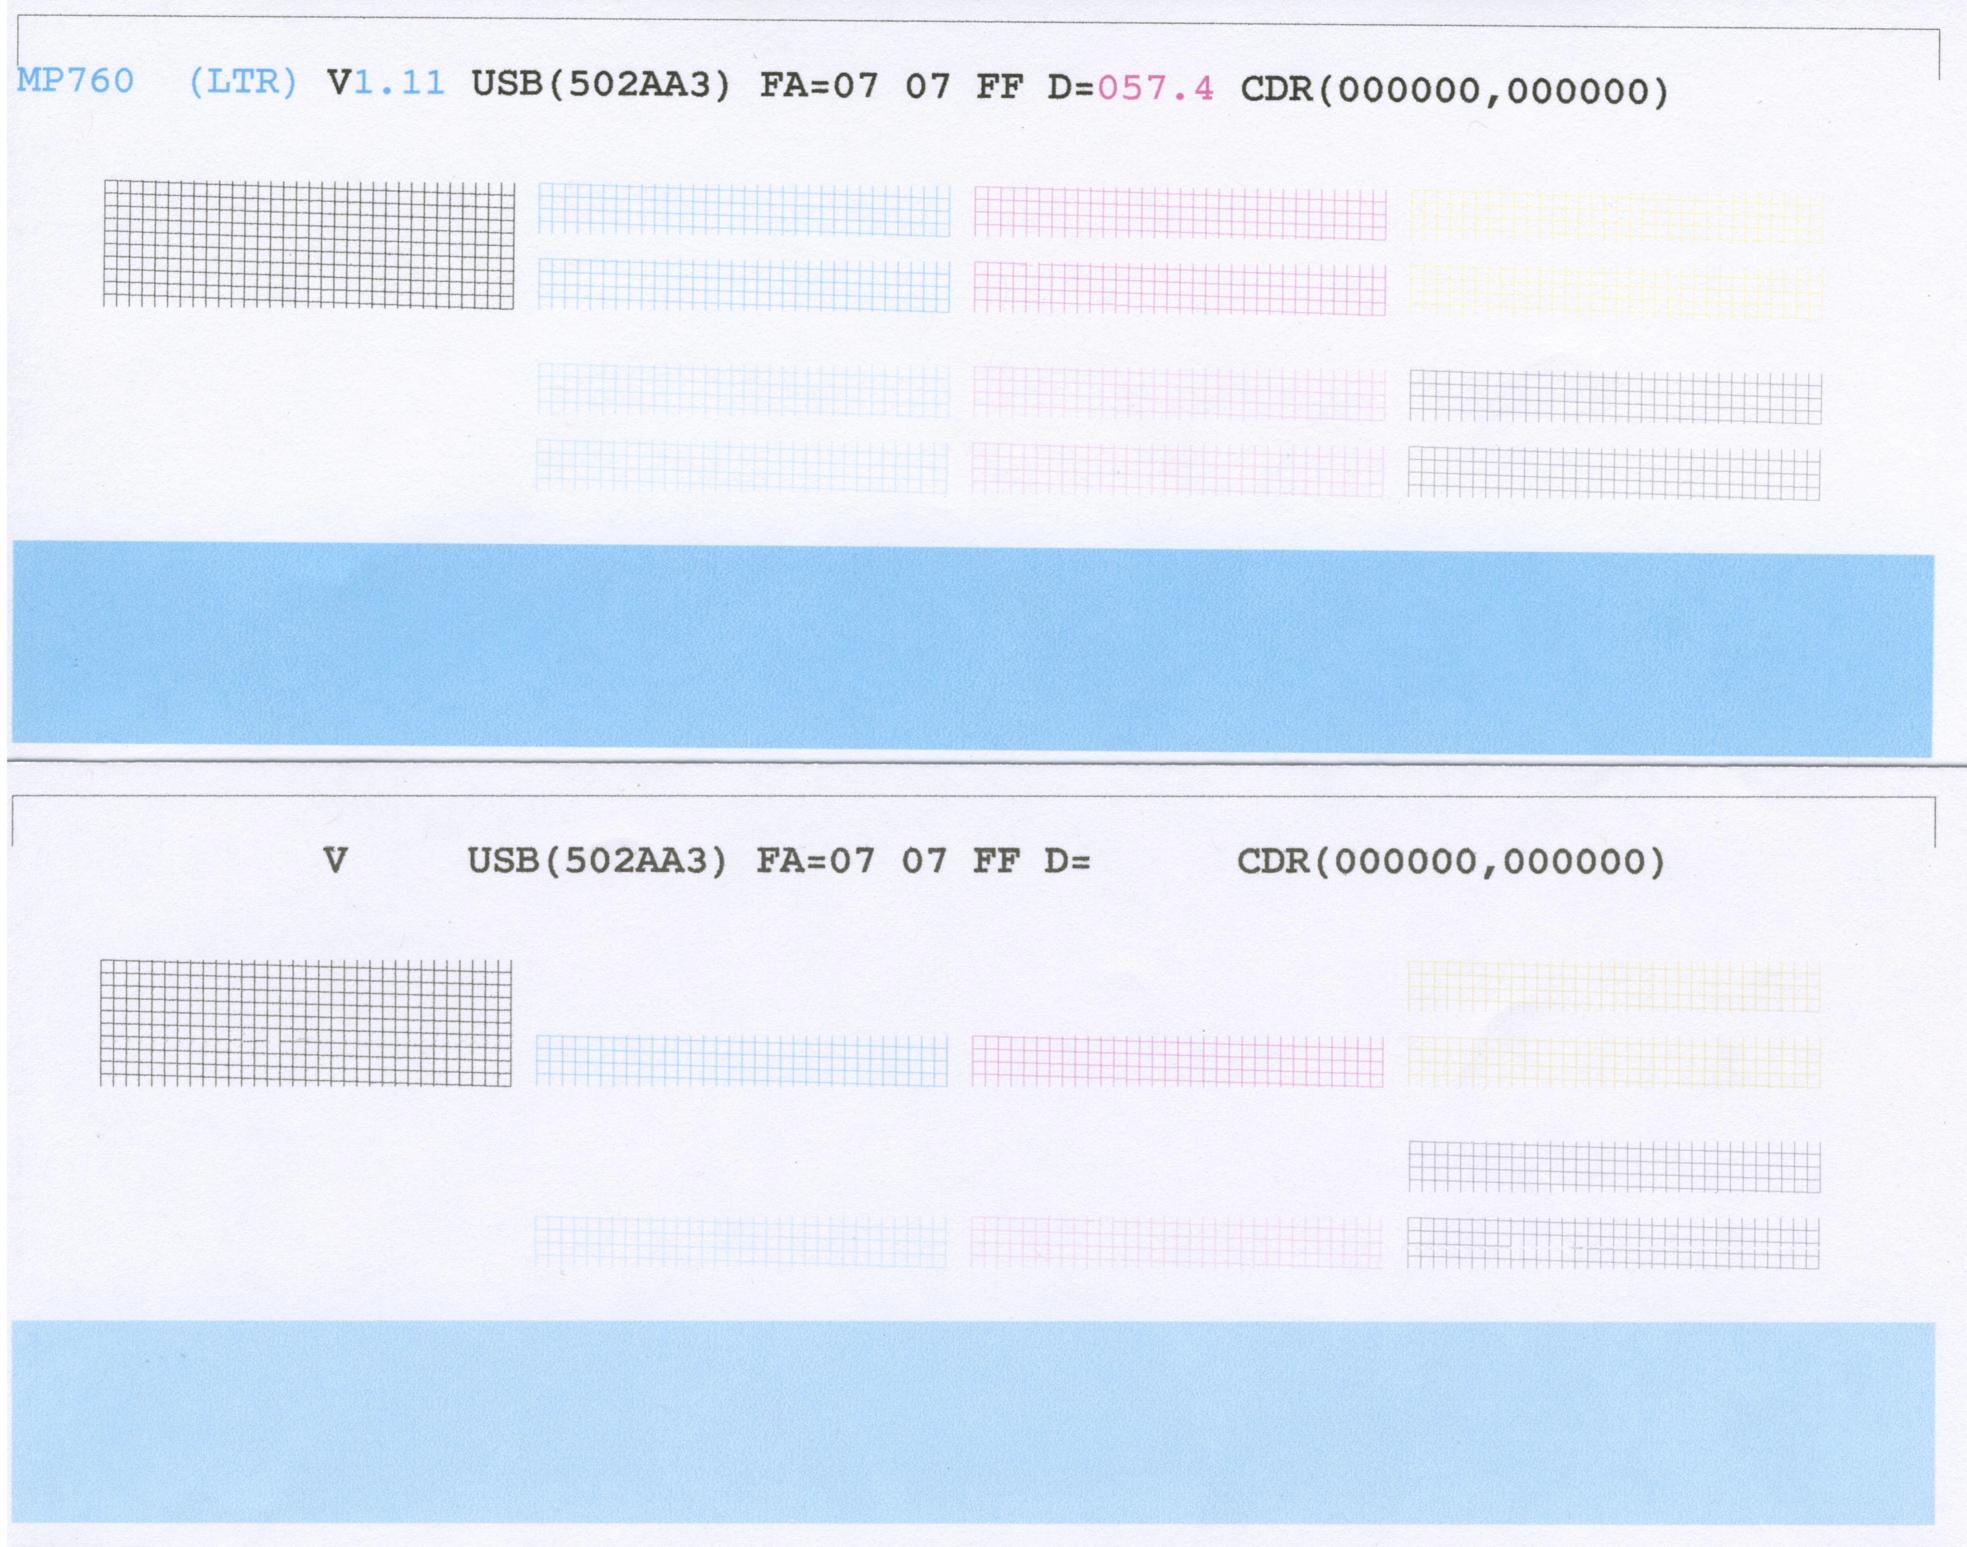
It seems that the position of the dye black is not important then, because it seems to differ from my iP5200:ghwellsjr said:I can tell you that the ordering of the colors in your drawings goes cyan, magenta, yellow, black, magenta, cyan and then pigment black.

Btw here are the nozzle setups for two other Canon printers, according to this (german) site:
iP4300 (=iP5200):
512 PGBK
512 photoBK (5pl)
512 yellow (5pl)
1024 cyan (1pl/5pl)
1024 magenta (1pl/5pl)
iP5300:
512 PGBK
512 photoBK (5pl)
512 yellow (5pl)
1024 cyan (1pl/2pl/5pl)
1024 magenta (1pl/2pl/5pl)
The first one I find understandable, but the second one (1024 nozzles with 1/2/5pl) sounds really odd. I think it's either not build symetrically, or it has 6 rows of nozzles per color (like this: Oo. .oO ) instead of the four rows per color discussed here with the iP4000 ( Oo oO ).
btw: I contemplated to make a test with my iP5200 by putting some tape over one side of the magenta and cyan nozzles and see how the nozzle check print would look like. But then I did not dare to do that, because it might damage the head.