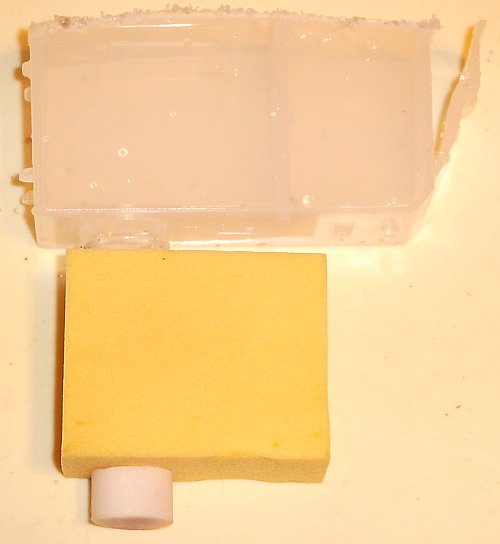
I would like to give an update on the sponge tests, and I apologize in advance for the extreme length of this post. I also hope that this is of interest to more than just a few people.
Before starting, a more detailed explanation of the problem is probably in order.
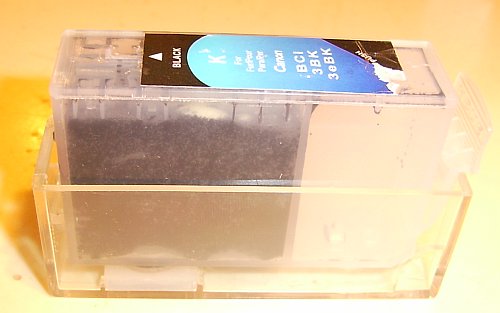
The bottom sponge does not "go bad", it just "goes empty". To understand the problem, it is first necessary to understand surface tension and capillary action - the attached link is technical, but there is no way to avoid a technical discussion if you want to understand what's happening in the sponge:
http://hyperphysics.phy-astr.gsu.edu/hbase/surten2.html#c5
"Surface tension" is the tendency of a liquid to hang together. The most common example is when you slightly overfill a glass, and the top of the water goes above the top of the glass without spilling. The water's "surface tension" keeps the water from spilling over the edge. The same effect allows water bugs to walk on water, causes water to form drops, etc. "Capillary action" is what pulls water up into trees, and is related to surface tension. These are small forces, but they are still very important in our everyday lives.
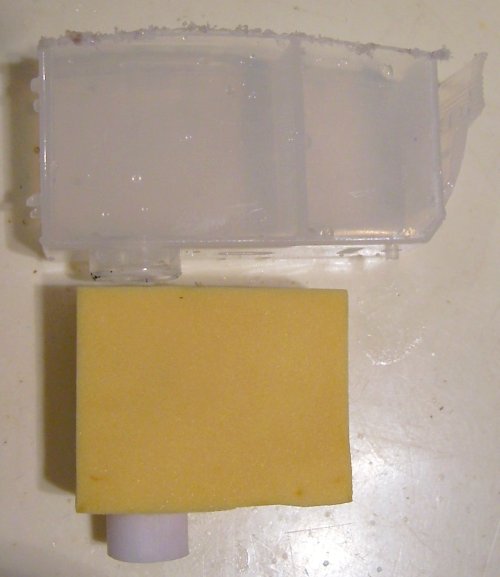
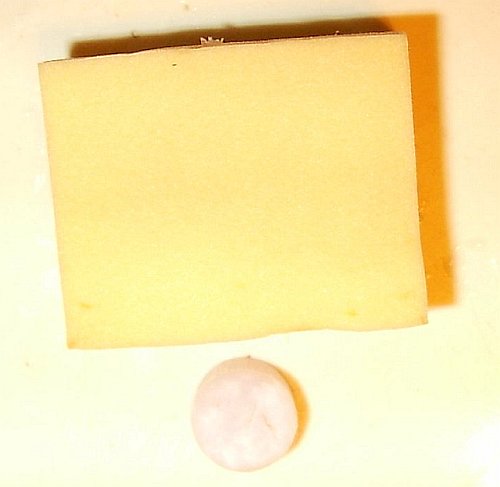
If the bottom sponge is full of ink, the tendency of the ink to stick together pulls additional ink from outside the sponge (if it is there) through the sponge's cells to replace any ink that is pulled away by the filter/print head. Once the outside source of ink is depleted, the ink that is pulled from the cells is replaced with air. When this happens, the surface tension effect is lost, and additional ink will not be drawn into the sponge when the ink chamber is refilled. In fact, a closed cell foam (like the bottom sponge) will actually tend to repel ink after the cells are full of air.
For those who are interested in seeing this for themselves, dissect a cart and carefully wash out the ink from both sponges by repeatedly squeezing and releasing them while under water. Then squeeze them as dry as possible and place them in water for 10 seconds. The top (open cell) sponge will absorb a reasonable amount of water in this time, but the bottom (closed cell) sponge will absorb almost nothing. This is why Neil stated that carts that get air in the sponge are dead - it is difficult to get ink back into the cells again. That it is possible to get ink back into the sponge can be demonstrated by a simple test. Carefully fold the bottom foam until it can be tightly squeezed between your thumb and forefinger. Keep it tightly squeezed and put the sponge into a container of water until it is completely under water, then let it go. The sponge will now expand, and it has no choice but to pull water into the cells - it will now be completely filled.
For those with experience refilling HP foam filled carts (including 56/57/58), it is well known that letting these carts go empty is also usually the kiss of death. Fortunately, methods have been developed that sometimes allow an empty HP cart to be salvaged - my personal favorite was "slinging". It involves refilling the cart, placing it into a plastic sandwich bag and then placing the bag into the bottom of an old tube sock with the print head toward the bottom. Take it outside and away from anything that wouldn't benefit from some ink droplets (in case the plastic bag doesn't do its job) and swing it around in whatever plane is most comfortable for you. Swing it as fast as you can for 20 seconds or until your arm hurts. Depending on the length of your sock and the speed of your swing, this motion can easily generate over 10 G's. This makes the ink 10 times heavier than normal, making it much more effective at forcing ink into the foam and pushing out the air than just gravity alone.
The "SlingTest" photo shows the bottom of a cart before and after "slinging". The image on the left shows air around the filter, and is normal for this non-OEM cart. This space is filled with ink when the cart is new, but it soon empties, as it seems to be the first ink used. The image on the right shows that slinging has been pushed the ink lower into the cart, even if it did not completely fill the air voids.
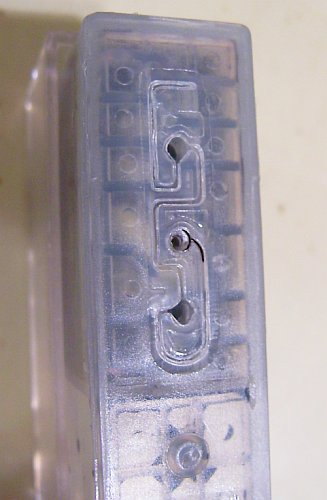
The next step was to use a similar refill technique to that used in the HP foam carts - to inject ink directly at the bottom of the foam. Previous photos showed a "hole to nowhere" in the sponge chamber cover. This is a good place to put a second hole into the sponge chamber. The same type of self tapping #6 flat head screw that was used to seal the ink chamber was simply screwed into the cart to make the hole, then it was removed. A syringe with a 1.5" long needle was inserted into the hole at an angle to put the tip of the needle as close to the exit port as possible. The "Refill 1" image shows the original cart on the left and the needle in position on the right. Note that the top sponge had very little ink in the left image.
Inject the ink slowly to give it time to spread as much as possible. In this case, I was able to inject an additional 4 CCs of ink. If you remove the screw from the ink chamber before injecting the ink, some of the ink will be pushed back into the ink chamber, filling it at the same time. Plug this new injection hole with the screw when you are done, since it is a larger hole than the vent hole and two holes will allow some ink to leak from the sponge chamber if the cart isn't always stored correctly. The condition of the cart at this time is shown on the left in "Refill2". Note that the top sponge is now full of ink and that some ink has been forced into the air void around the filter. This cart was then given the "sling treatment", and is shown on the right side of "Refill 2". The air void has also now been completely filled.
Since there is now a lot of free ink at the exit, you should allow a little more time than normal for the carts to "drip" after they are refilled. I also like to print a few copies of a heavily colored test image onto plain paper after installing newly refilled carts just in case there is initially too much ink at the exit (often the case).
I applied this treatment to a set of carts that had become marginal - they would sometimes give the strange color bands typical of carts that don't feed enough ink, especially after a cleaning cycle. They now give the same print quality as new carts. If someone has a set of "completely dead" carts, they might want to try this technique on them and report the results.
Even though this technique seems to help with air locked sponges, there may be even better solutions.
http://www.nifty-stuff.com/img/files/SlingTest.jpg
http://www.nifty-stuff.com/img/files/Refill1.jpg
http://www.nifty-stuff.com/img/files/Refill2.jpg