- Joined
- Jan 18, 2010
- Messages
- 16,126
- Reaction score
- 9,084
- Points
- 453
- Location
- Residing in Wicklow Ireland
- Printer Model
- Canon/3D, CR-10, CR-10S, KP-3
I decided to make a start on the list of upgrades that I want to do to my CR-10, first off is to install two new stabiliser bars to make the platform far more stable when printing large projects.
I don’t have all the necessary parts to complete the first upgrade yet, but what the hell, it was just begging me to start, the rest of the parts I need will arrive on Monday courtesy of LaPoste from France.
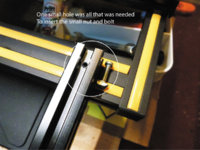
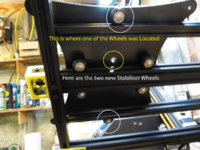
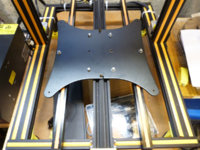
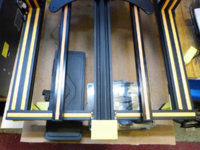
I began by removing the glass and heated platform, it helps to get them out of the way first and then I unscrewed the two centre support wheels on the base, then drilled two new holes on the edges to relocate these two wheels.
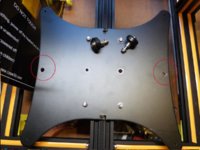
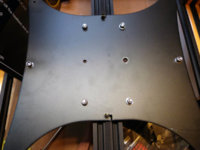
Within a couple of minutes, I had the new wheels in place and now I'm just waiting on the two stabiliser bars to finish the project, I did notice that the wheels on the inner bar are not the same, the ones on the left are static and the ones on the right are adjustable.
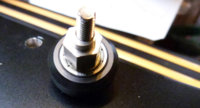 Adjustable wheel
 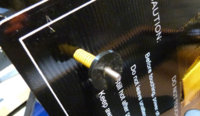 click to enlarge.
While I had the platform in pieces I put four 3D printed custom washers on the screws that hold down the platform, they help keep the springs in place when I go to reassemble and fit the platform once again, it stops the springs wandering all over the place.
More later and I’ll show the finished upgrade job in the coming week..
I don’t have all the necessary parts to complete the first upgrade yet, but what the hell, it was just begging me to start, the rest of the parts I need will arrive on Monday courtesy of LaPoste from France.
I began by removing the glass and heated platform, it helps to get them out of the way first and then I unscrewed the two centre support wheels on the base, then drilled two new holes on the edges to relocate these two wheels.


Within a couple of minutes, I had the new wheels in place and now I'm just waiting on the two stabiliser bars to finish the project, I did notice that the wheels on the inner bar are not the same, the ones on the left are static and the ones on the right are adjustable.
 Adjustable wheel
  click to enlarge.
While I had the platform in pieces I put four 3D printed custom washers on the screws that hold down the platform, they help keep the springs in place when I go to reassemble and fit the platform once again, it stops the springs wandering all over the place.
More later and I’ll show the finished upgrade job in the coming week..


