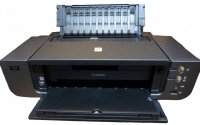
Removal of Top Cover From Pro 9500...

The Hat

Printer VIP
Platinum Printer Member
Joined
Jan 18, 2010
Messages
16,243
Reaction score
9,180
Points
453
Location
Residing in Wicklow Ireland
Printer Model
Now have 3 Ender-3 V3 Plus SE/
1. Remove side cover L/R.

2. Remove Front covers L/R.

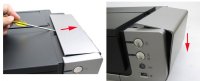
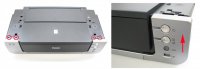
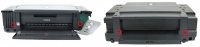
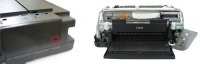
3. Release 6 tabs, 2 on front, 2 on back, one each side L/R.

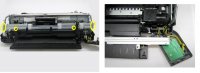
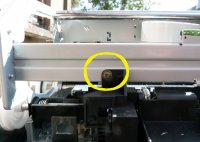
4. Remove 6 screws on front rail, and place it on outlet tray.

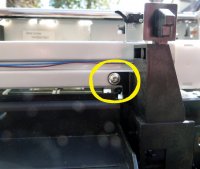
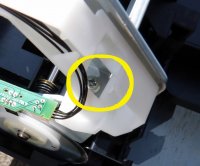
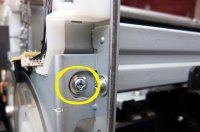
5. Remove 2 screws form Blade cleaner box.

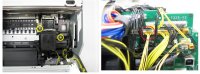
6. Remove purge Unit power connector from Logic board.

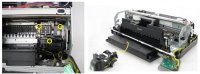
7. Remove 3 screws from Purge Unit and lift free.
Pic 1.jpg Pic 2.jpg Pic 3.jpg Pic 4.jpg Pic 5.jpg Pic 6.jpg Pic 7.jpg Pic 8.jpg Click to Enlarge Photos.
Pics from Service Manual..
 
Can I assume that the Pro 9000 II is basically the same?
 
The best man to answer that question correctly is @jtoolman because he has both machines in his den, but from what I can tell most of the Pro printer are pretty much the same.

See Pics..
9000-1.jpg


9000.jpg

From Service parts Manual..
 
Here is how to remove the Purge Unit for repair, replacement or to fit a Waste ink outlet.

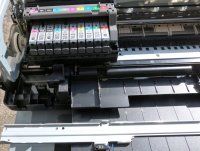
There is no need to disturb the cartridges or print head because they’re better off been left were they are.

Power on the printer, to move the heads to the centre of the carriageway, then unplug to power off.

Locate the release spots for the case on the back first then the left & right sides, lastly it’s the turn of the 2 front tabs to be released, see photos on post above for position of tab clips on case.

By holding the top cover at the rear just gently lift up the back (About 20 cm) and then pull the top clear using both hands, just make sure that none of the clips have re-engaged on the front.

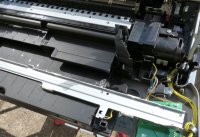
The first job is to remove the bar that run across the front of the printer, and lay it down on the output tray.

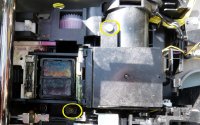
This gives clear access to the purge unit itself, pull the electrical connection off first, there are just 2 screws to remove the wiper box and 3 screws holding the purge unit..
Front bar removel.jpg Purge Electrics.jpg Screw 1.jpg Screw 2.jpg Screw 3.jpg Screw 4.jpg Screw 5.jpg Screw 7.jpg
Exposed 1.jpg Exposed 2.jpg Click to enlarge.
This is my limit for Photos on this post , Continued below..
 
Continued !
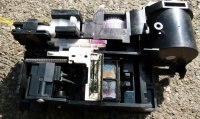
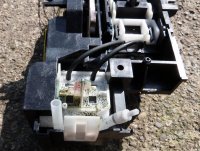
Purge Unit 2.jpg Purge Unit 4.jpg Purge Unit 1.jpg Tube outlet 2.jpg Potty 3.jpg
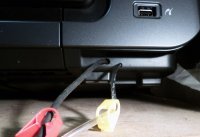
There are 2 outlet tubes on the bottom of the purge unit and I only connected up both after I had to do repairs to the purge unit, otherwise I wouldn’t have bothered because the second tube is used very little for waste output.
But it is used !.
 
Excellent shots, Hat!
Joe
 
Indeed,

I kept a PRO9500 Mark I with head failure for spare parts for my Mark II.
Suppose the hardware is the same.

Anyway, switching was a win, the Mark II has a very decent ink consumption.
NEVER buy a PRO9500 Mark I, it empties the cartridges before you are able to print something.
 
How to release the tab, for the top removing
 
Back
Top