- Thread starter
- #11
OK
we are now going to get started.
you will download the profile that is pertinent to your printer model from the list above.
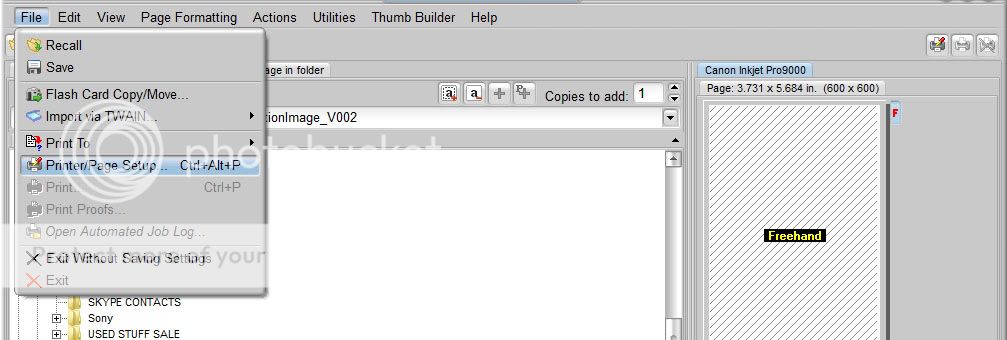
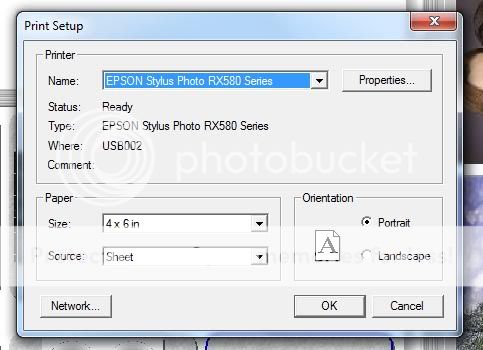
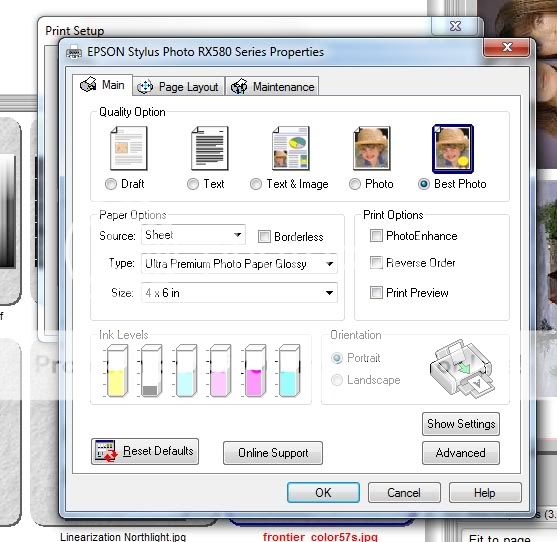
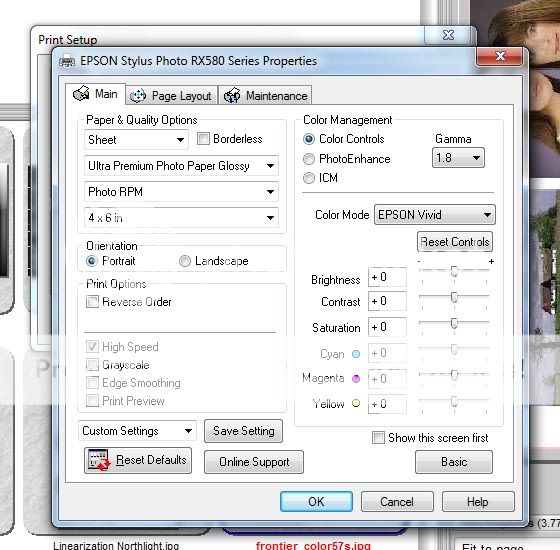
After downloading, you will unarchive the package. There is settings file which tells you what paper setting was used and what the Print Quality setting are as well. You will use these settings in the print driver.
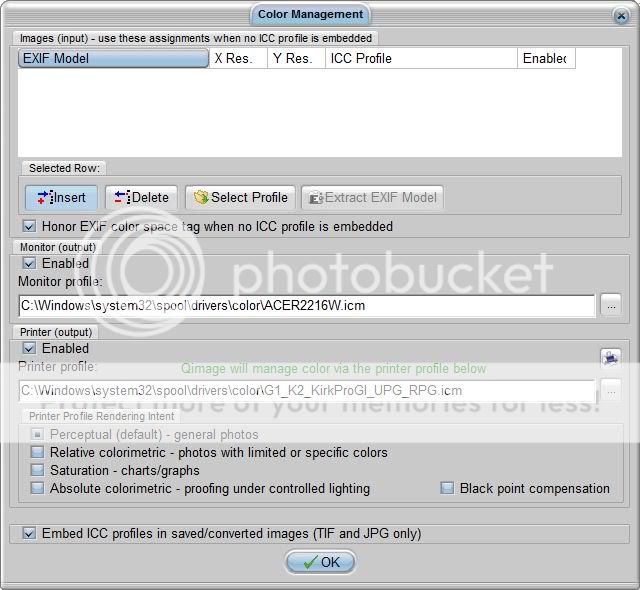
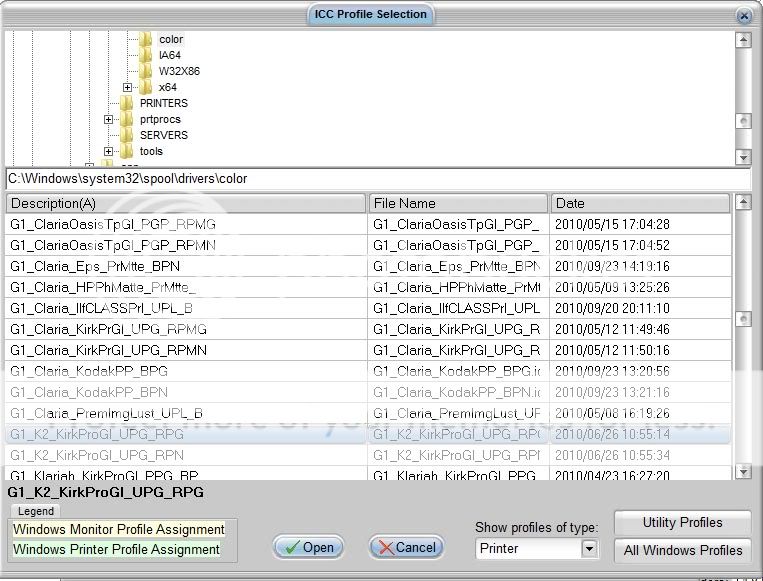
After unarchiving the package, you will then Right click on the particular profile and choose install. Windows will automatically install the profiles in the correct system folder.
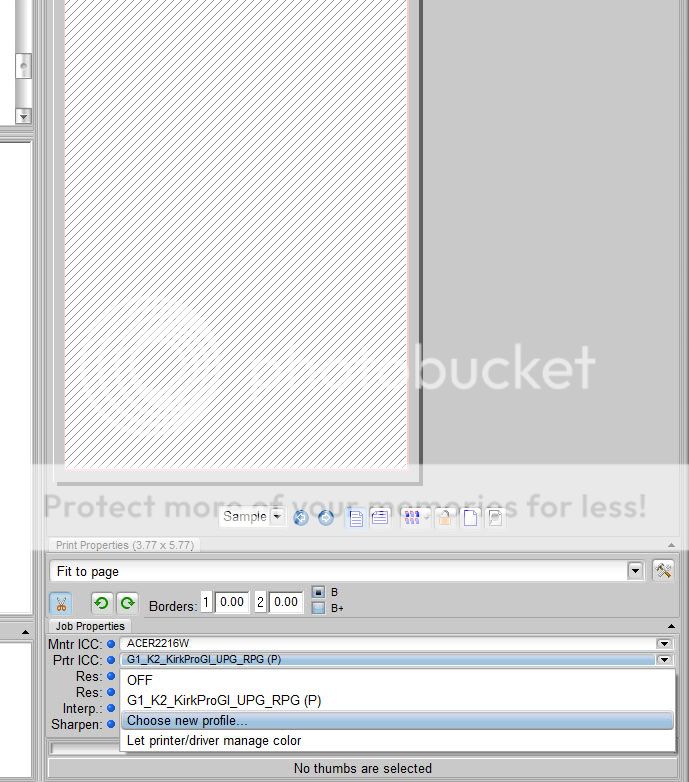
Of the two profiles, the one that ends with a G is typically a warmer tone profile and the one with N at the end is a cooler tone profile. The degree of coolness and warmth will vary by personal taste and there are situations where one of the two might be preferable.
You will want to follow the following thread first until message #16
The profile we are going to use is the one for the Epson RX580 if you have downloaded another then all references to this will apply to yours.
http://www.nifty-stuff.com/forum/viewtopic.php?id=5519
we are now going to get started.
you will download the profile that is pertinent to your printer model from the list above.
After downloading, you will unarchive the package. There is settings file which tells you what paper setting was used and what the Print Quality setting are as well. You will use these settings in the print driver.
After unarchiving the package, you will then Right click on the particular profile and choose install. Windows will automatically install the profiles in the correct system folder.
Of the two profiles, the one that ends with a G is typically a warmer tone profile and the one with N at the end is a cooler tone profile. The degree of coolness and warmth will vary by personal taste and there are situations where one of the two might be preferable.
You will want to follow the following thread first until message #16
The profile we are going to use is the one for the Epson RX580 if you have downloaded another then all references to this will apply to yours.
http://www.nifty-stuff.com/forum/viewtopic.php?id=5519