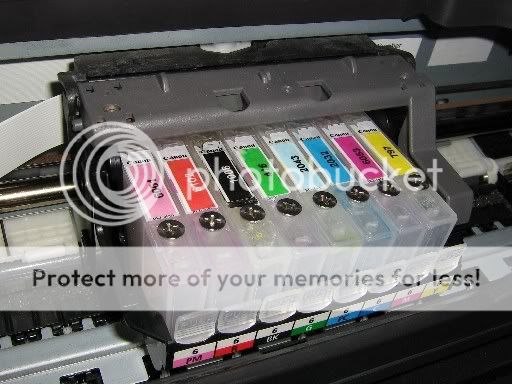
Plagiarizing Grandad's method of flushing I decided that connecting to a hose bibb or faucet was just not convenient for me. I don't have access to a garden hose bibb as I currently reside in a condo. So what to do?
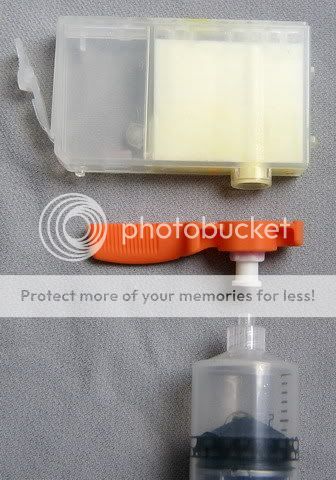
I came up with a method of flushing that recycles the Canon orange seals. My system is convenient in that it can be safely performed anywhere. All one needs to do is dunk the assembled cartridge end into a container of water and a couple of draws on the syringe and the cartridge is done. After each draw on the syringe, the twist to lock luer connection comes apart so that the syringe can be emptied.
Since the system is based on vacuum, the harder you draw on the syringe, the better the seal. This is opposed to a pressure system where if you pressurize the syringe too much leaks/spurts will happen around the seal.
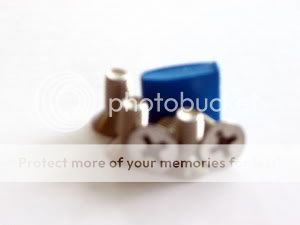
The white attachment to the orange cartridge seal is a bulkhead female luer lock connector with a barb fitting. The barb fitting is cut off so that when screwed onto the orange seal it does not protrude.
It works very well and this contraption as well as others could ultimately save your printhead.


I came up with a method of flushing that recycles the Canon orange seals. My system is convenient in that it can be safely performed anywhere. All one needs to do is dunk the assembled cartridge end into a container of water and a couple of draws on the syringe and the cartridge is done. After each draw on the syringe, the twist to lock luer connection comes apart so that the syringe can be emptied.
Since the system is based on vacuum, the harder you draw on the syringe, the better the seal. This is opposed to a pressure system where if you pressurize the syringe too much leaks/spurts will happen around the seal.
The white attachment to the orange cartridge seal is a bulkhead female luer lock connector with a barb fitting. The barb fitting is cut off so that when screwed onto the orange seal it does not protrude.
It works very well and this contraption as well as others could ultimately save your printhead.