- Joined
- Jan 18, 2010
- Messages
- 16,100
- Reaction score
- 9,055
- Points
- 453
- Location
- Residing in Wicklow Ireland
- Printer Model
- Canon/3D, CR-10, CR-10S, KP-3
I Reckoned a New Thread was called for because this is going to be a work in progress and if I remember I'll take some Pics onlong the way plus I can only start to print the New Project when I get a delivery of black filament. (Lots)
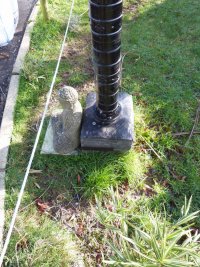
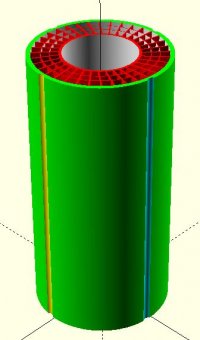
Here is a Pic of the excisting column which has to be removed to make way for the new structure, this is what the first new section will look like (OpenScad Pic), it will be one of 8 pieces needed to complete the centre column.

 Click to enlarge..
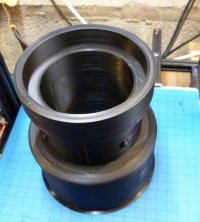
Taking 110 hour to print each piece 145 x 300 mm and use 1.6 Kg of filament per section at 40% fill, I'll then add quite a few decretive pieces to the outside of the column later, that will keep the printing straight forward with less indivudual pieces to worry about.
I've learned quite a bit so I’m very confident it won’t blow down, no matter how bad the weather gets, the original design was flawed from the start and I refused to give in, and kept on adding new reinforced pieces, but the wind had the final say.
It will take time to dig out the hole and piece it all together, but I'm in no hurry, so I'm prepared for every eventully because I know how the finished 5 lamps will look, this lamp will be the best and final one..
Here is a Pic of the excisting column which has to be removed to make way for the new structure, this is what the first new section will look like (OpenScad Pic), it will be one of 8 pieces needed to complete the centre column.

 Click to enlarge..
Taking 110 hour to print each piece 145 x 300 mm and use 1.6 Kg of filament per section at 40% fill, I'll then add quite a few decretive pieces to the outside of the column later, that will keep the printing straight forward with less indivudual pieces to worry about.
I've learned quite a bit so I’m very confident it won’t blow down, no matter how bad the weather gets, the original design was flawed from the start and I refused to give in, and kept on adding new reinforced pieces, but the wind had the final say.
It will take time to dig out the hole and piece it all together, but I'm in no hurry, so I'm prepared for every eventully because I know how the finished 5 lamps will look, this lamp will be the best and final one..


