ThrillaMozilla
Printer Master
- Joined
- Jan 18, 2011
- Messages
- 1,254
- Reaction score
- 380
- Points
- 253
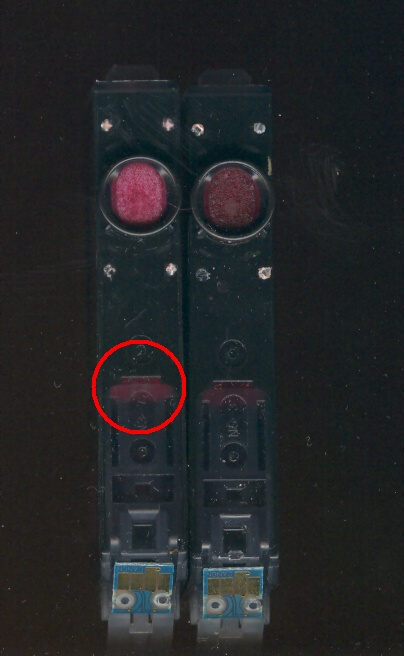
Think of the air channel as a bubble. You can remove a bubble by tapping the cartridge. Remember that air bubbles rise. If that one bubble is followed immediately by a bunch of other bubbles, then you know that ink was not flowing into the sponge.stratman said:This air-channel breaks the flow of ink from the spongeless side and results in ink starvation. While I have cartridges with this air channel that work fine, I did experience ink starvation once that may have been due to the air-lock.
I try to remember to tap it to remove the bubble just before I install the cartridge in the printer.
It's interesting that you have had cartridges that worked even with a bubble stuck there.