- Joined
- Jan 18, 2010
- Messages
- 15,622
- Reaction score
- 8,695
- Points
- 453
- Location
- Residing in Wicklow Ireland
- Printer Model
- Canon/3D, CR-10, CR-10S, KP-3
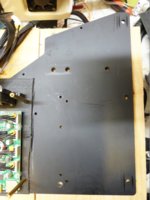
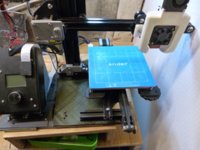
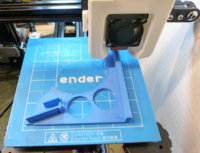
I got this crazy idea a while ago to switch the hot plate platform over from 3 adjusting screw positions to the standard 4 as most printers have, because the original Ender 2 was made very compact, and so they had to compromise on the build somewhere. (Very cheap printer)
I had repositioned the control panel in a previous upgrade 10cm to the left to open up the working space but on this latest upgrade I am going to redo everything, from the base board up. (It may take two posts to explain and to show everything, limited space)
Click on one Photo to enlarge all..
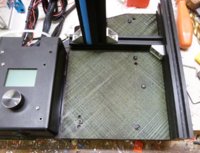
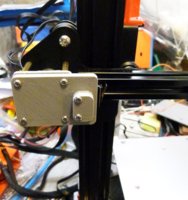
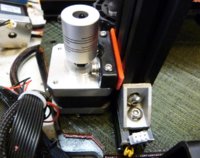
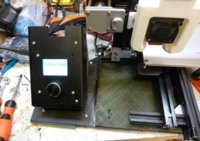
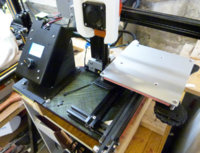
I removed and cleared all the bits and pieces from the base board, but I left the control panel where it was for now because it won’t be in the way when moving the major parts.
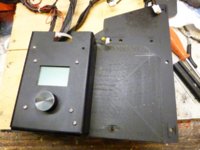 Repositioned control box.
Here is the Original Ender 2 as it was when I first assembled it after unpacking
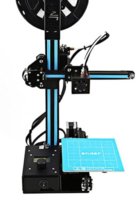
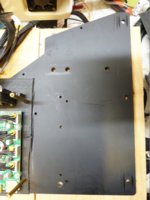 now it looks like this..
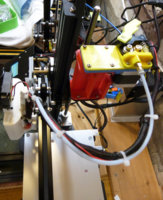
The hot-bed carriage plate was very small and only had room for 3 bearing wheels, but the new one I want to replace it with comes with 4 and I plan on adding an extra one.
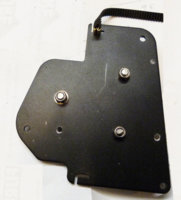 Old...
 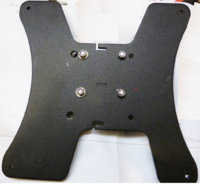 New...
I started by drilling 4 new holes in the hot plate, carefully avoiding the electric contact stripes on the back, the original holes are the ones closest to the middle. (I had earlier carefully peeled off the blue Adhesive cover) to use later if that were possible.
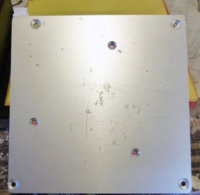 4 New holes..
 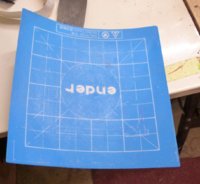 Curled but undamaged..
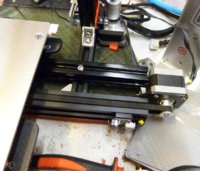
When I was finished repositioning the adjusting screw holes, I stuck a piece of rubber floor tile on the back of the hot plate, Fig 1. I then drilled and attached a fifth bearing wheel to the underside of the new carriage plate Fig 2. and added an extra rail for that wheel to sit on. Fig3.
Fig 1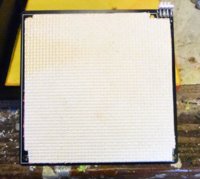 Fig 2
Fig 2 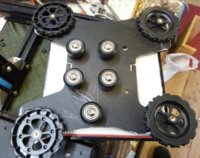 Fig 3
Fig 3 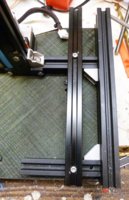
As ten photos are the upload limit here, I will continue this Post as a Follow up below...
I had repositioned the control panel in a previous upgrade 10cm to the left to open up the working space but on this latest upgrade I am going to redo everything, from the base board up. (It may take two posts to explain and to show everything, limited space)
Click on one Photo to enlarge all..
I removed and cleared all the bits and pieces from the base board, but I left the control panel where it was for now because it won’t be in the way when moving the major parts.
 Repositioned control box.
Here is the Original Ender 2 as it was when I first assembled it after unpacking

 now it looks like this..
The hot-bed carriage plate was very small and only had room for 3 bearing wheels, but the new one I want to replace it with comes with 4 and I plan on adding an extra one.
 Old...
  New...
I started by drilling 4 new holes in the hot plate, carefully avoiding the electric contact stripes on the back, the original holes are the ones closest to the middle. (I had earlier carefully peeled off the blue Adhesive cover) to use later if that were possible.
 4 New holes..
  Curled but undamaged..
When I was finished repositioning the adjusting screw holes, I stuck a piece of rubber floor tile on the back of the hot plate, Fig 1. I then drilled and attached a fifth bearing wheel to the underside of the new carriage plate Fig 2. and added an extra rail for that wheel to sit on. Fig3.
Fig 1
 Fig 2
Fig 2  Fig 3
Fig 3 
As ten photos are the upload limit here, I will continue this Post as a Follow up below...

