- Joined
- Jan 18, 2010
- Messages
- 15,628
- Reaction score
- 8,698
- Points
- 453
- Location
- Residing in Wicklow Ireland
- Printer Model
- Canon/3D, CR-10, CR-10S, KP-3
I think the German method (bottom fill) has been getting over publicised on this forum over the last while at the expense of the top fill (Original Method).
It was and still is a tried and trusted method of getting ink into a cartridge reality easy, but now its almost considered Jurassic.
Because top fill was so easy most guys tended to got a bit sloppy with it over time leading to Woops...
There are a few very careful steps to take to obtain a perfect fill without the Technicolor table top and high blood pressure syndrome.
----------------------------------------------------------
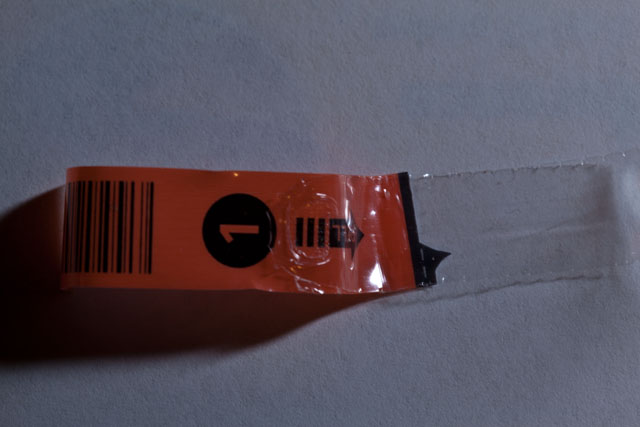
Start by putting down a protective cover over your table and then have your orange clip,
elastic band, ink and resetter ready before you remove the cartridge from the printer.
If youre using a chipped cartridge then the first thing to do is to reset it immediately
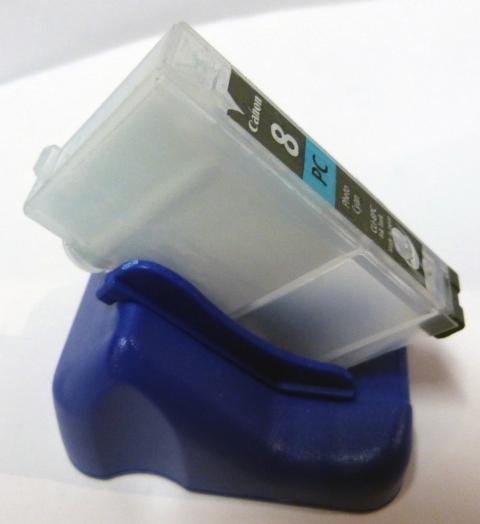
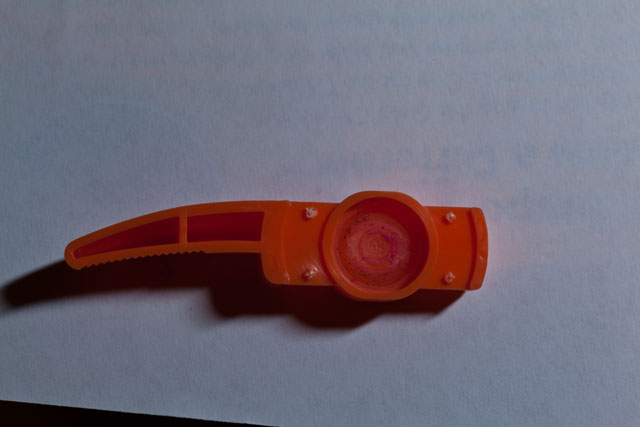
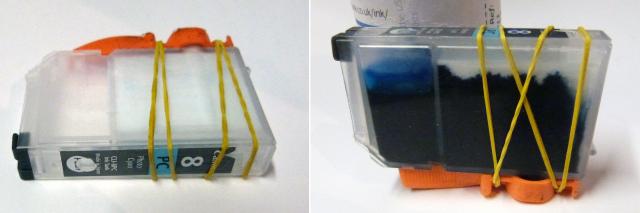
Now put back on the orange boot clip that came with the cartridge (when new)
to cover the outlet hole, securing it tightly using an elastic band.
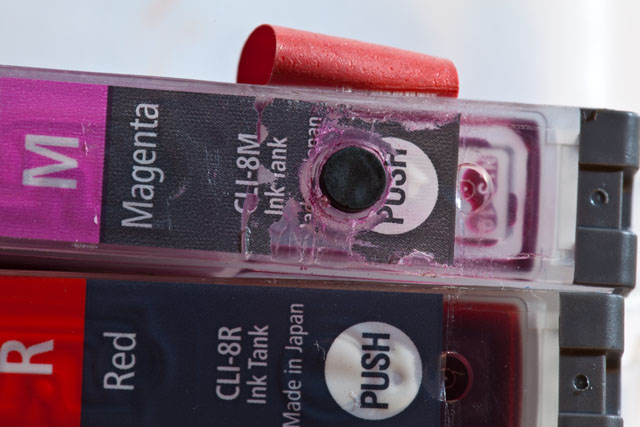
Next either drill a small hole above the reservoir or remove the plug thats in the original filling hole under the label marked (Push).
You can at this point cover the air maze (Above the Sponge Area) with a piece of tape
if you wish too but on this refill I didnt and it just works fine without it. (Optional )
EDIT It not that important to cover the air maze while refilling the clear carts some do some dont,
but its imperative to do so when refilling the opaque carts because it will stop you
overfilling your cartridge which will lead to ink starvation later on (Blocked Air Maze).
If youre in any dough at all regarding your refilling procedures with your opaque cartridges
then go to this link where it is explained in detailed pictures.
http://www.nifty-stuff.com/forum/viewtopic.php?pid=62664#p62664
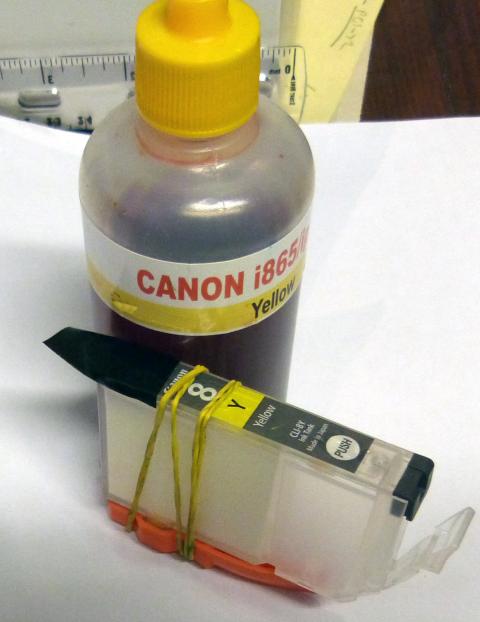
Now fill the reservoir using a syringe or SquEasy bottle (Use whichever method you find best and most comfortable with)
but only fill to about which is usually enough, and then leave the cartridge to sit for a minute or two.
Next just top up the ink level back to again (if necessary) and reseal the filling hole,
dont be tempted to over fill the reservoir as it can lead to other problems later.

The method for resealing the cartridge can be your own preferred choice; you can use
wax, glue, rubber or plastic grommets or even a screw, again your choice but be advised dont use tape.
It is however very important to make sure the seal is completely airtight;
otherwise the cartridge will most definitely leak and be useless to you. **
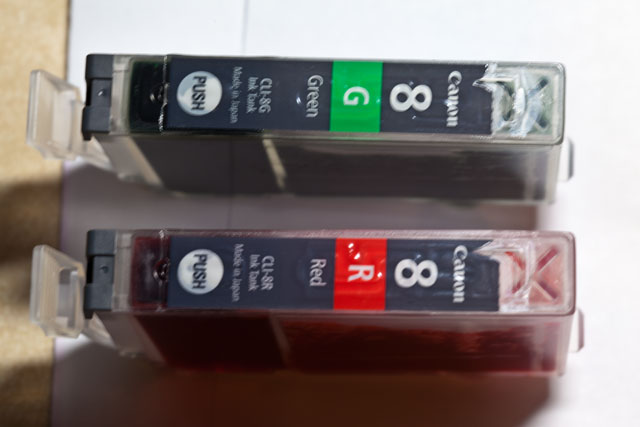
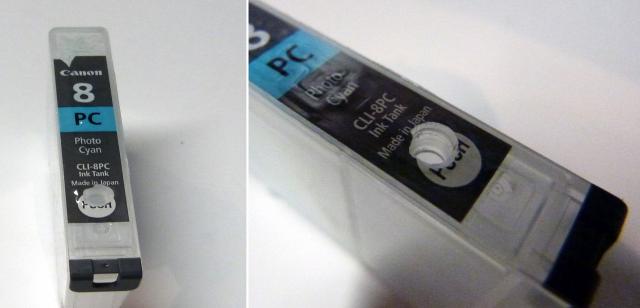
It has being stated many many times the best cartridges to use are Canon originals (OEM)
and rightly so, nothing comes near them for longevity and reliability.
Above all take your time when your refilling, patience can be a real asset and a friend.
Using the method described above will insure that there will be no ink or air flow problems in the cartridge
and it should lead to many more refills for the future, so happy printing.
** A good way to check if the refill hole is sealed properly after refilling is to remove the orange clip,
if the cartridge drips a few drops then you have a good seal, but if it leaks continuously (Then its definitely a no),
put the orange clip back on immediately and correct the problem by resealing the refill hole again.
If you ever have an ink flow problem with your cartridge, I.E. ink fails to drip when the orange clip is first removed
it would be advisable to purge (Clean out) the cartridge of ink and refill as normal.
Foot Note:
If your print output gets very poor or stops quickly is it advisable to stop all printing immediately
and try to resolve the problem yourself or seek advice on the matter before attempting to resume.
If you find yourself in this situation than nozzle checks are permissible as they wont do any harm to your print head..
Empty carts supplied by Mikling and Websnail..
E&OE.
It was and still is a tried and trusted method of getting ink into a cartridge reality easy, but now its almost considered Jurassic.
Because top fill was so easy most guys tended to got a bit sloppy with it over time leading to Woops...
There are a few very careful steps to take to obtain a perfect fill without the Technicolor table top and high blood pressure syndrome.
----------------------------------------------------------
Start by putting down a protective cover over your table and then have your orange clip,
elastic band, ink and resetter ready before you remove the cartridge from the printer.
If youre using a chipped cartridge then the first thing to do is to reset it immediately
Now put back on the orange boot clip that came with the cartridge (when new)
to cover the outlet hole, securing it tightly using an elastic band.
Next either drill a small hole above the reservoir or remove the plug thats in the original filling hole under the label marked (Push).
You can at this point cover the air maze (Above the Sponge Area) with a piece of tape
if you wish too but on this refill I didnt and it just works fine without it. (Optional )
EDIT It not that important to cover the air maze while refilling the clear carts some do some dont,
but its imperative to do so when refilling the opaque carts because it will stop you
overfilling your cartridge which will lead to ink starvation later on (Blocked Air Maze).
If youre in any dough at all regarding your refilling procedures with your opaque cartridges
then go to this link where it is explained in detailed pictures.
http://www.nifty-stuff.com/forum/viewtopic.php?pid=62664#p62664
Now fill the reservoir using a syringe or SquEasy bottle (Use whichever method you find best and most comfortable with)
but only fill to about which is usually enough, and then leave the cartridge to sit for a minute or two.
Next just top up the ink level back to again (if necessary) and reseal the filling hole,
dont be tempted to over fill the reservoir as it can lead to other problems later.
The method for resealing the cartridge can be your own preferred choice; you can use
wax, glue, rubber or plastic grommets or even a screw, again your choice but be advised dont use tape.
It is however very important to make sure the seal is completely airtight;
otherwise the cartridge will most definitely leak and be useless to you. **
It has being stated many many times the best cartridges to use are Canon originals (OEM)
and rightly so, nothing comes near them for longevity and reliability.
Above all take your time when your refilling, patience can be a real asset and a friend.
Using the method described above will insure that there will be no ink or air flow problems in the cartridge
and it should lead to many more refills for the future, so happy printing.
** A good way to check if the refill hole is sealed properly after refilling is to remove the orange clip,
if the cartridge drips a few drops then you have a good seal, but if it leaks continuously (Then its definitely a no),
put the orange clip back on immediately and correct the problem by resealing the refill hole again.
If you ever have an ink flow problem with your cartridge, I.E. ink fails to drip when the orange clip is first removed
it would be advisable to purge (Clean out) the cartridge of ink and refill as normal.
Foot Note:
If your print output gets very poor or stops quickly is it advisable to stop all printing immediately
and try to resolve the problem yourself or seek advice on the matter before attempting to resume.
If you find yourself in this situation than nozzle checks are permissible as they wont do any harm to your print head..
Empty carts supplied by Mikling and Websnail..
E&OE.
")